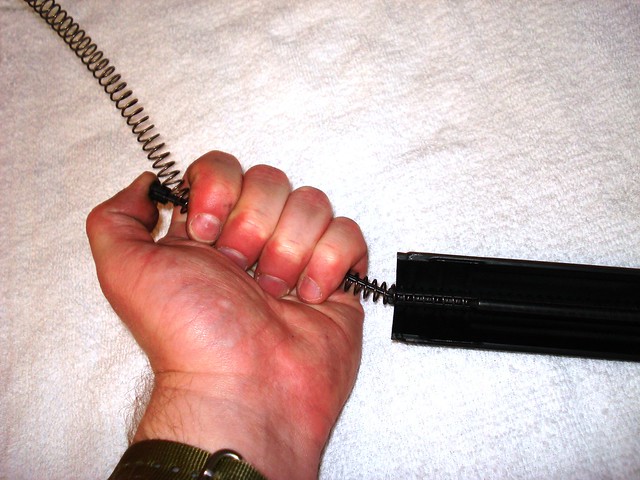
5. Grab spring in your hand. And then turn top cover clockwise. Turning the top cover will rotate the fixed recoil post, the recoil wire spring guide, and the locking piece, thereby threading on the spring one loop w/ each turn.
Note: Just had my thumb on the locking piece to secure for the pic. Don't need it there when turning, just ensure locking piece is pointed in a safe direction...

About 2/3rds of the spring installed -- as you get closer to the end, you'll want to pull threaded spring down away from locking piece to avoid it binding on the top locking piece.

About 90% of the spring installed:

One and one-half loops left to go:

One-half loop left to go:

Installed -- as you can see in the pic, below, the spring likes to stack at the end (why when installing it's good to pull the spring down and have some downward tension on the spring a few inches below the top locking piece, so that not all spring tension is there:

If you don't counteract some the spring tension, this can happen (spring is winding on against top locking piece and binding -- continuing to turn will turn the end of the wire guide and end up popping your top piece and shooting your spring) -- to fix, you might be able to turn counter clockwise to fix, but pulling down the spring manually (both threaded and unthreaded portions of the spring, pull the spring as one piece and don't stretch it out) and refixing the top piece as done at start is a doable backup option too -- much easier to adjust the top locking piece this way than when trying to brute force the spring on with other methods shared:

6. One installed, place the locking piece against floor or table and press down to ensure it functions properly (basically just checking to ensure the wire loop was a loop and not crossed... (Spring will untwist itself to degree needed during cycling -- and just the thin diameter nature of the wire loop makes it look more twisted than it actually is -- in reality it's more of a wave than a twist due to how the spring is tensioned.)
