PART 1 SPRING KIT Hi Guys,
A while ago, I had posted on some of the Stingray threads that I was about to do a full on Stingray.
Well plans do change.
After carrying it daily for 2 months, I reconsidered my purchase and then sold it for everything I had in it except tax.
Not bad for a 2 month rental.
So what I am going to customize is a 2013 model year Hard Chrome C-100.
It finally came in today, and I love it.
I PLAN TO DO THIS THREAD IN STAGES WITH PICTURES SO YOU CAN SEE THE DIFFERENCES AS IT PROGRESSES WITH THE DIFFERENT PARTS.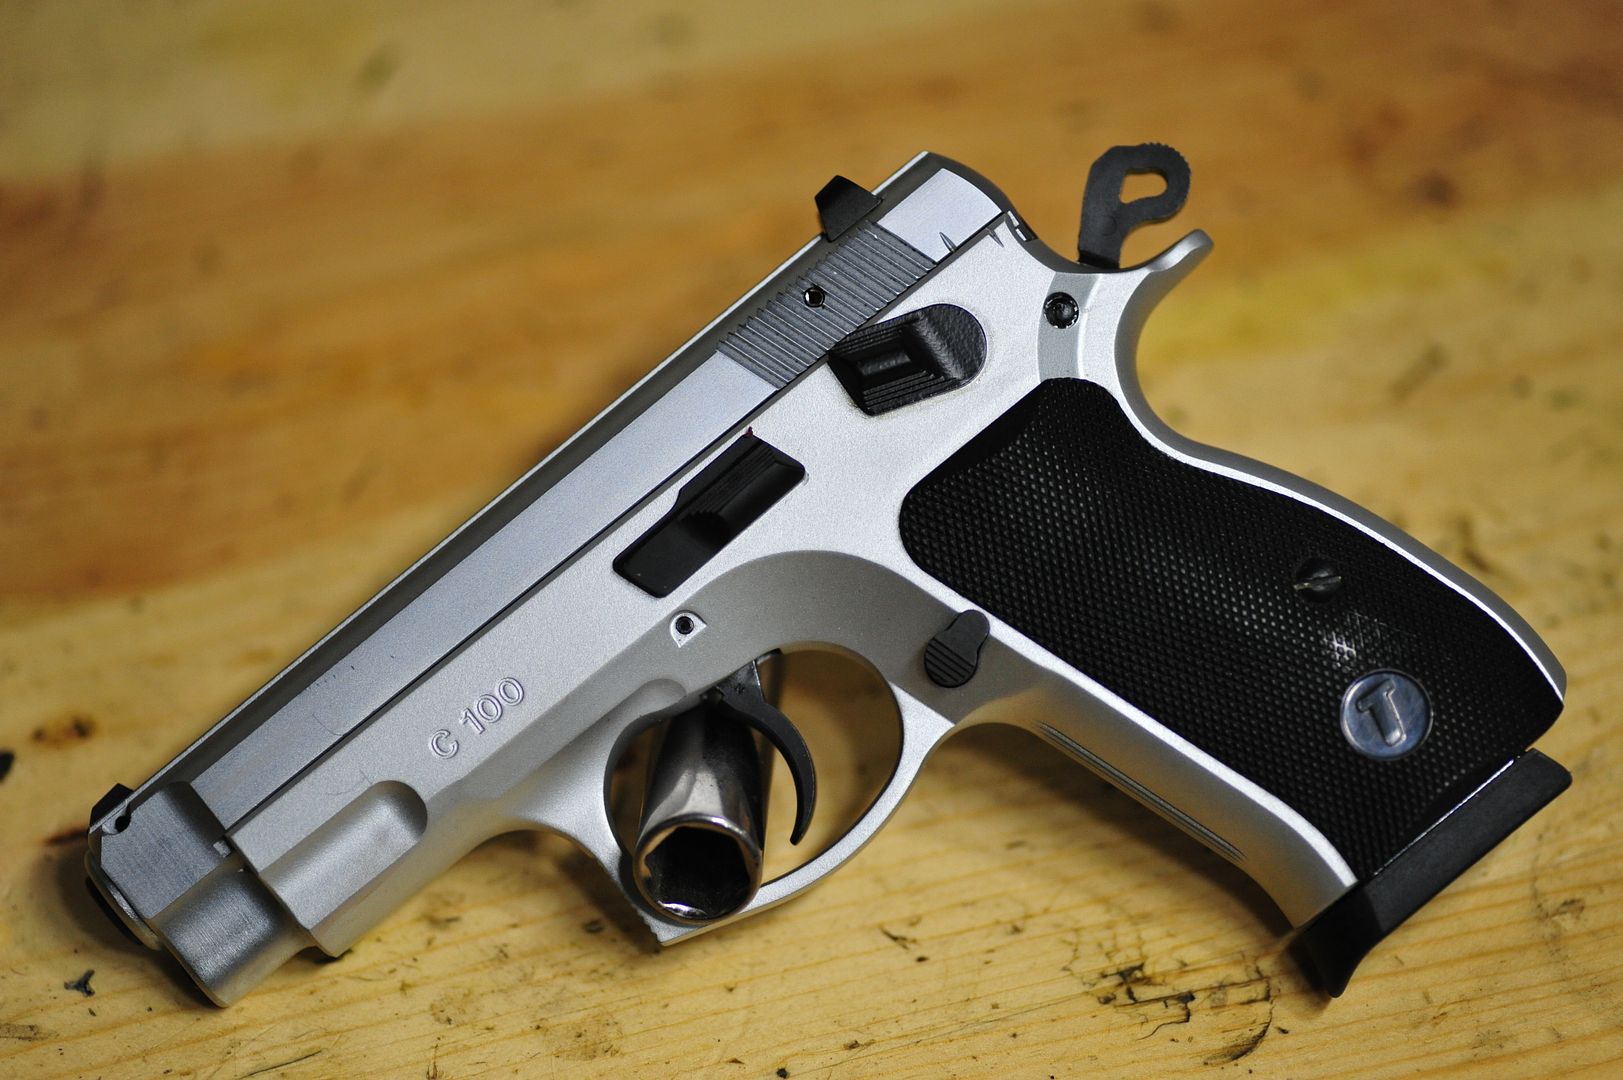
As most of you have read the fit and finish is nice on these with the machine work being even nicer.
Mine has a hard chrome slide with the Cerakote finish on the frame.
My wife and I went to the range to pick it up and to do a little shooting.
I will make it a short range report.
Good news.This thing has amazing mechanical accuracy out of the box.
When I did my part it shot a single ragged hole at 7 yards, period.
The trigger is far superior to the one I had on the Stingray, that one was a 2014 model.
Double action is still ridiculous but single action is nice and crisp with almost 0 camming of the hammer.
I was actually shocked by the amount of difference, the Stingray had a lot of camming more than a stock CZ.
Stock Grips are more comfortable than the Stingray as well.
Bad News.The sights are awful.
I was amazed that at 7 yards I consistently shot 3" low, over and over again.
DexterGSP and I have both experienced this on the Tristar/ Caniks and this one was no exception.
Well lets look at some baselines.
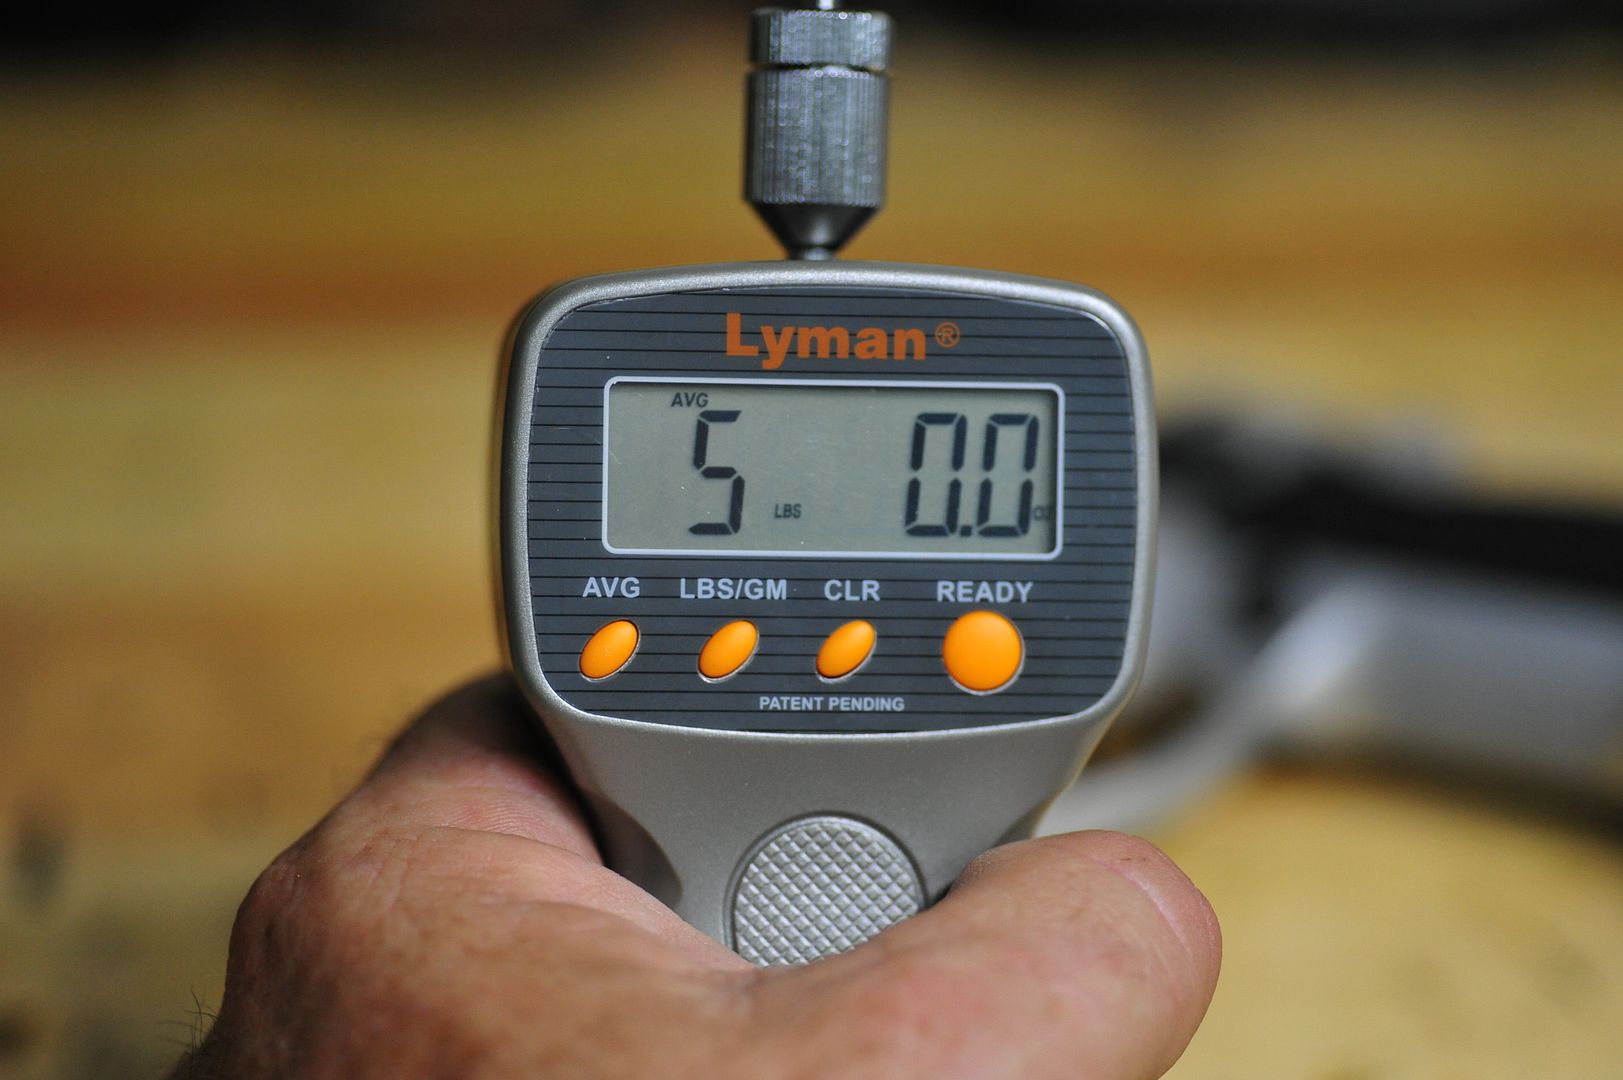
I recently bought a Lyman trigger gauge so I can see how things develop on my projects.
Baseline Double Action "OVERLOAD" the stock trigger double action is in excess of the Lymans 12# limit and judging by the fact the trigger did not even budge I would say it is way over that probably 16-20 lbs!
Single Action is much better 5 lbs. 0 oz. and nice and crisp. (10 pull average)
Here is a brief list of what is being done, OK not so brief.
Trigger ActionCGW Canik hammer and sear kit
CGW spring kit
CGW CZ 85 trigger with overtravel screw
CGW floating trigger pin
and full action polish by me.
SightsCZC Tactical tritium rear sight
CZC 6.0mm tritium front sight
So for the first night, I am keeping the mods simple
Just the spring kit and the grips.
I want
And just for cosmeticCZC Cocobolo Compact grips
Rob is too cool he brought out a bag of the compact grips and had me pick the grain pattern I liked the most.
It's nice to have those great guys at CZC in your city.
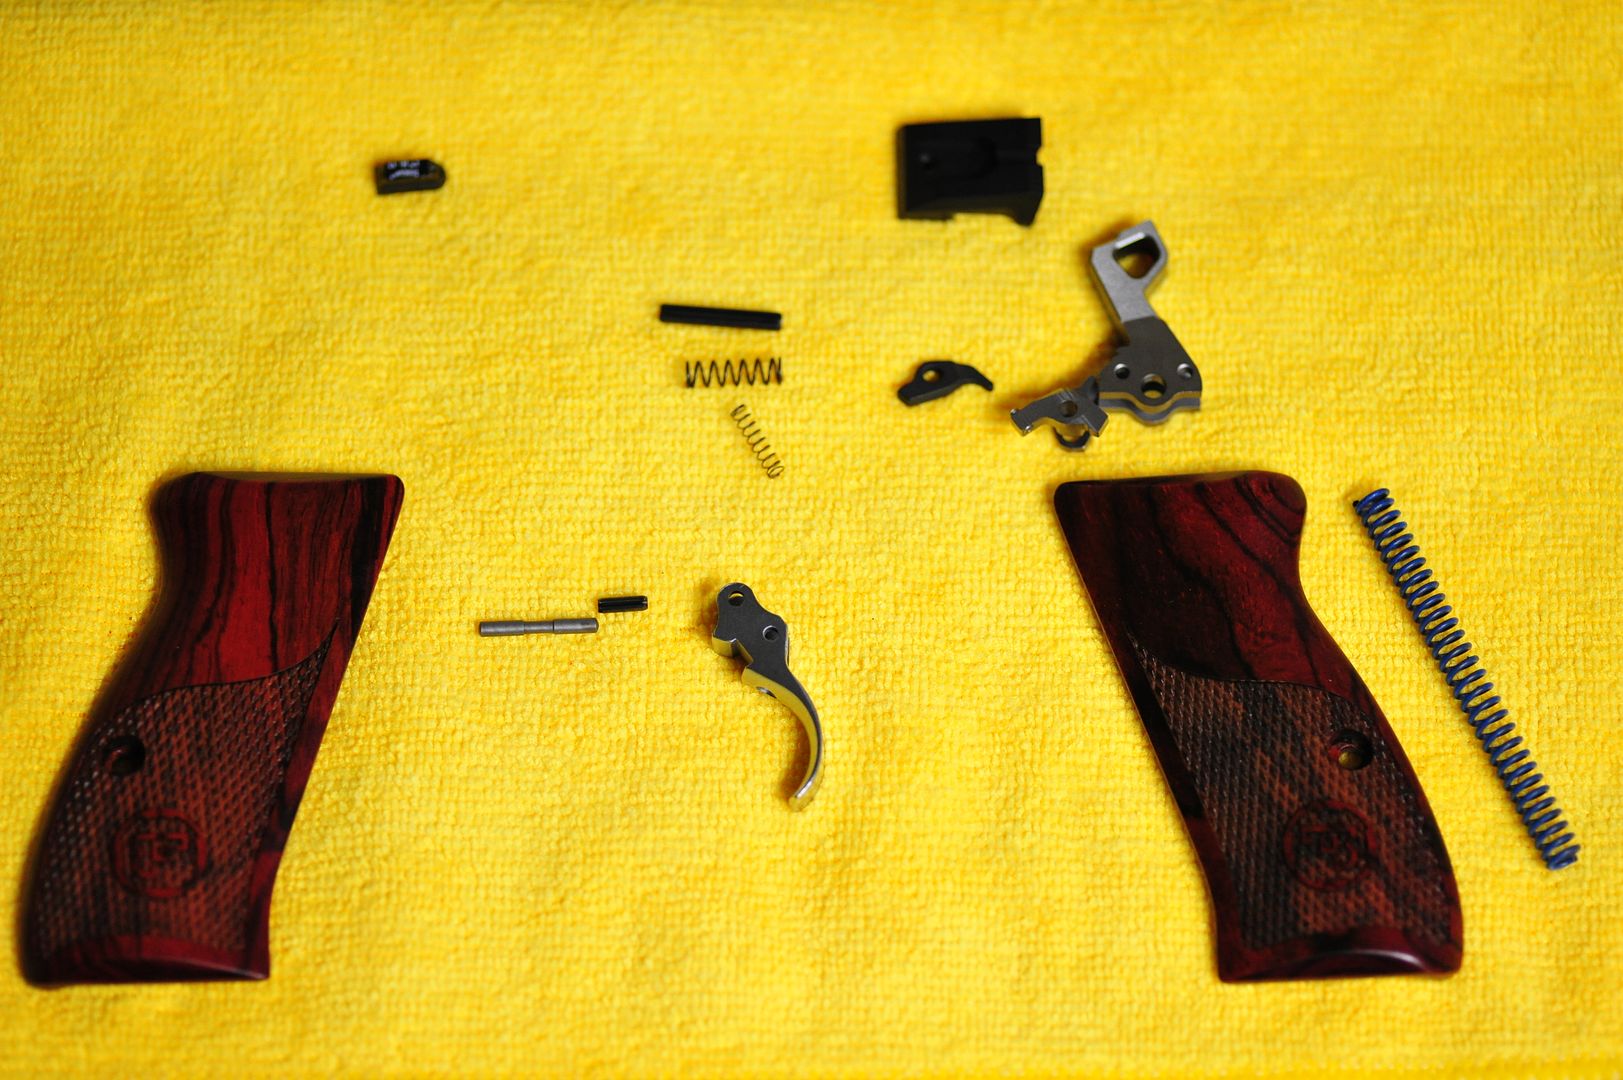
Installing the Spring kit is straight forward with the hardest part being removal of the firing pin retaining pin.
The kit comes with three springs, the hammer spring, the firing pin spring, and the firing pin lifter spring.
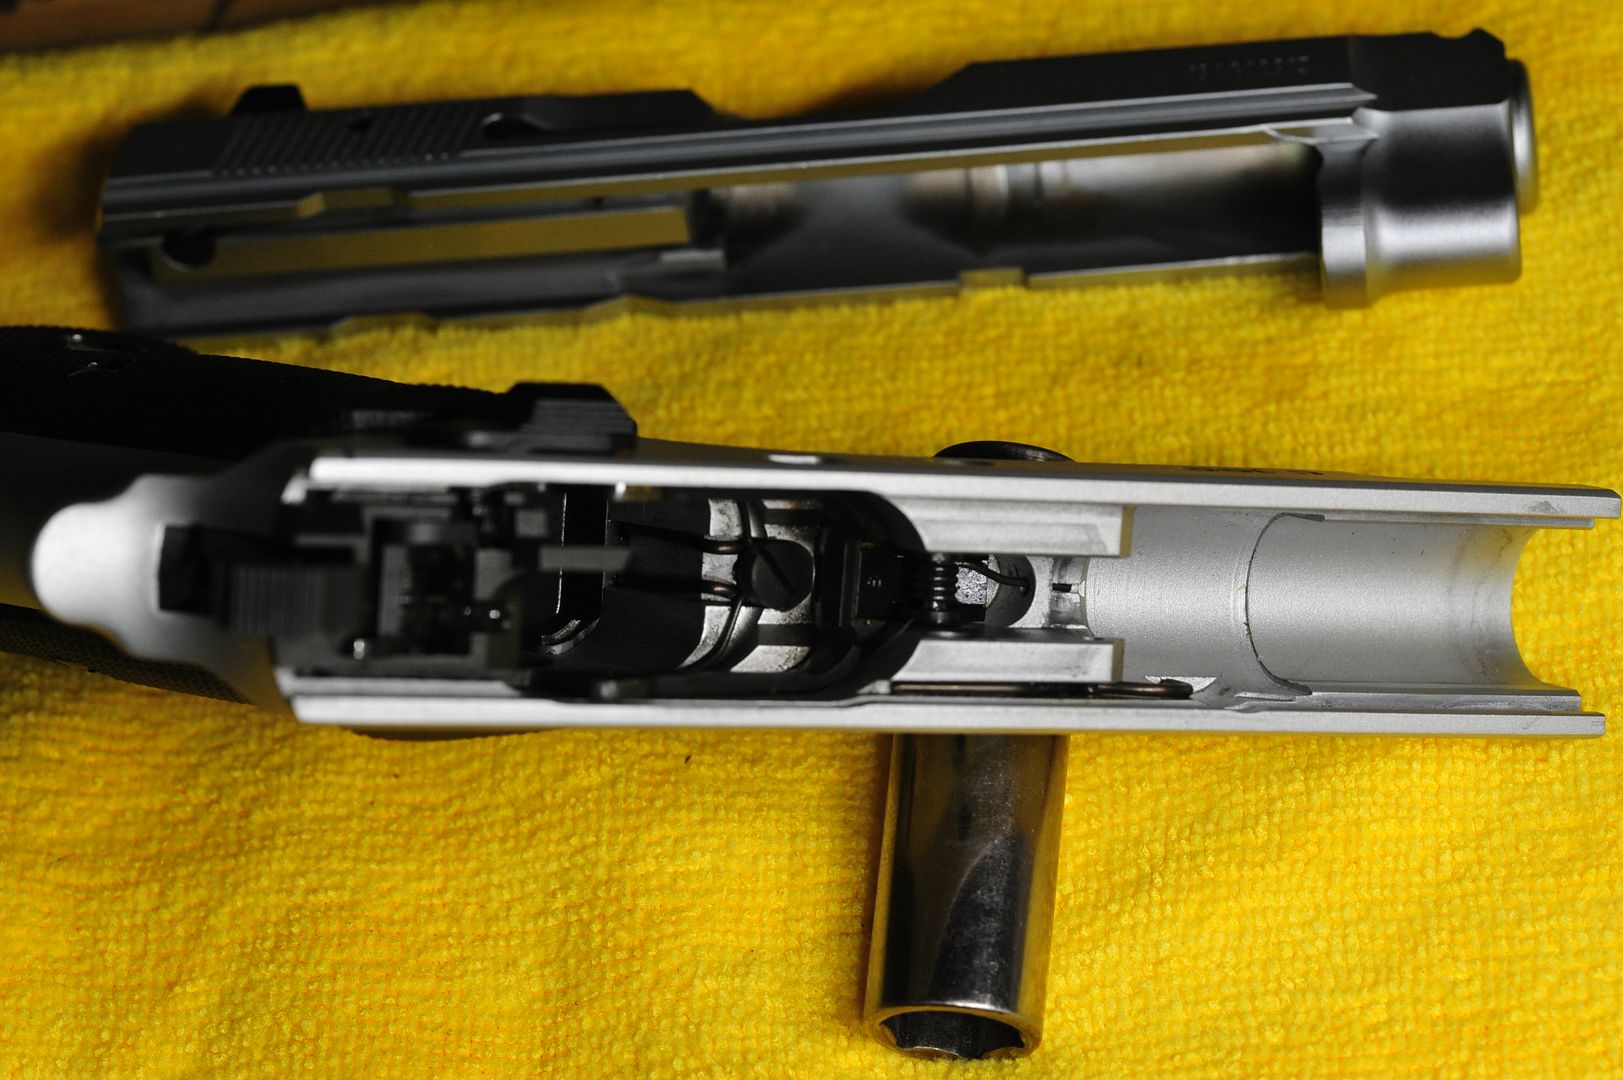
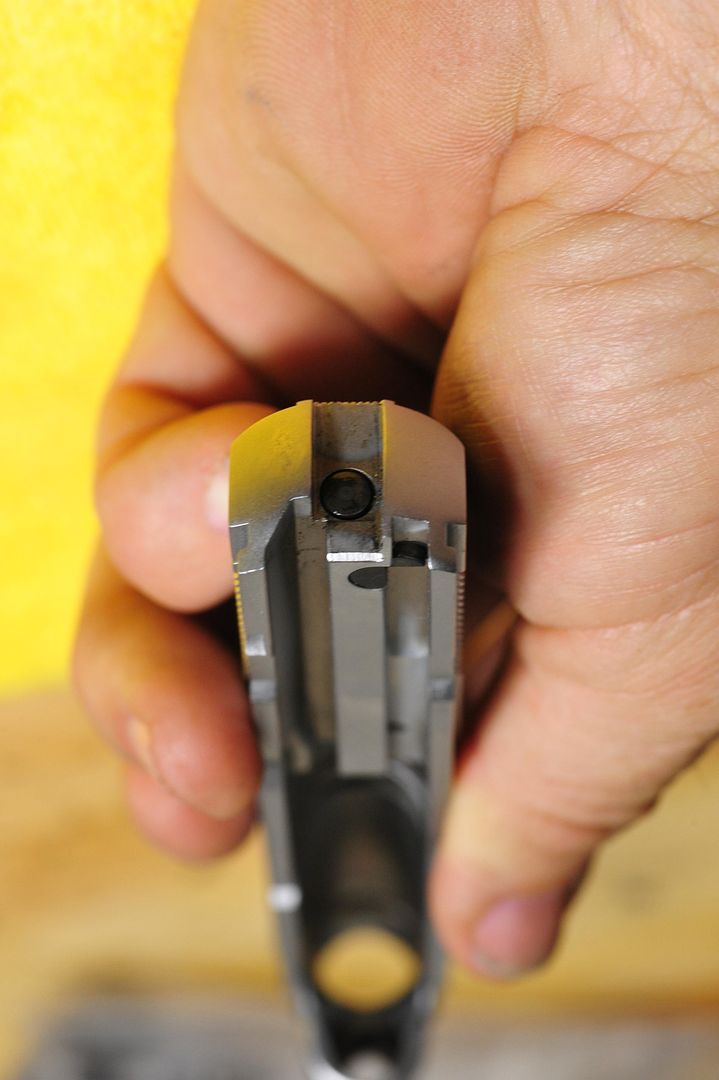
In order to remove the firing pin you need to drift out the firing pin retaining pin you can see the hole in the slide in the middle of the serations below the reat sight. I did the removal with a 1/16" dift punch and I was lucky my rolled pin drifted out easily, I know others have had issues and have had to drill them out in some cases. I also like to push in on the firing pin from the hammer end while I do this to keep from scarring the firing pin with the punch.
Once the pin is out, push up on the Firing pin Block and you can pull the firing pin out the back.
Once it is out the Firing Pin Block can be pulled out the bottom.
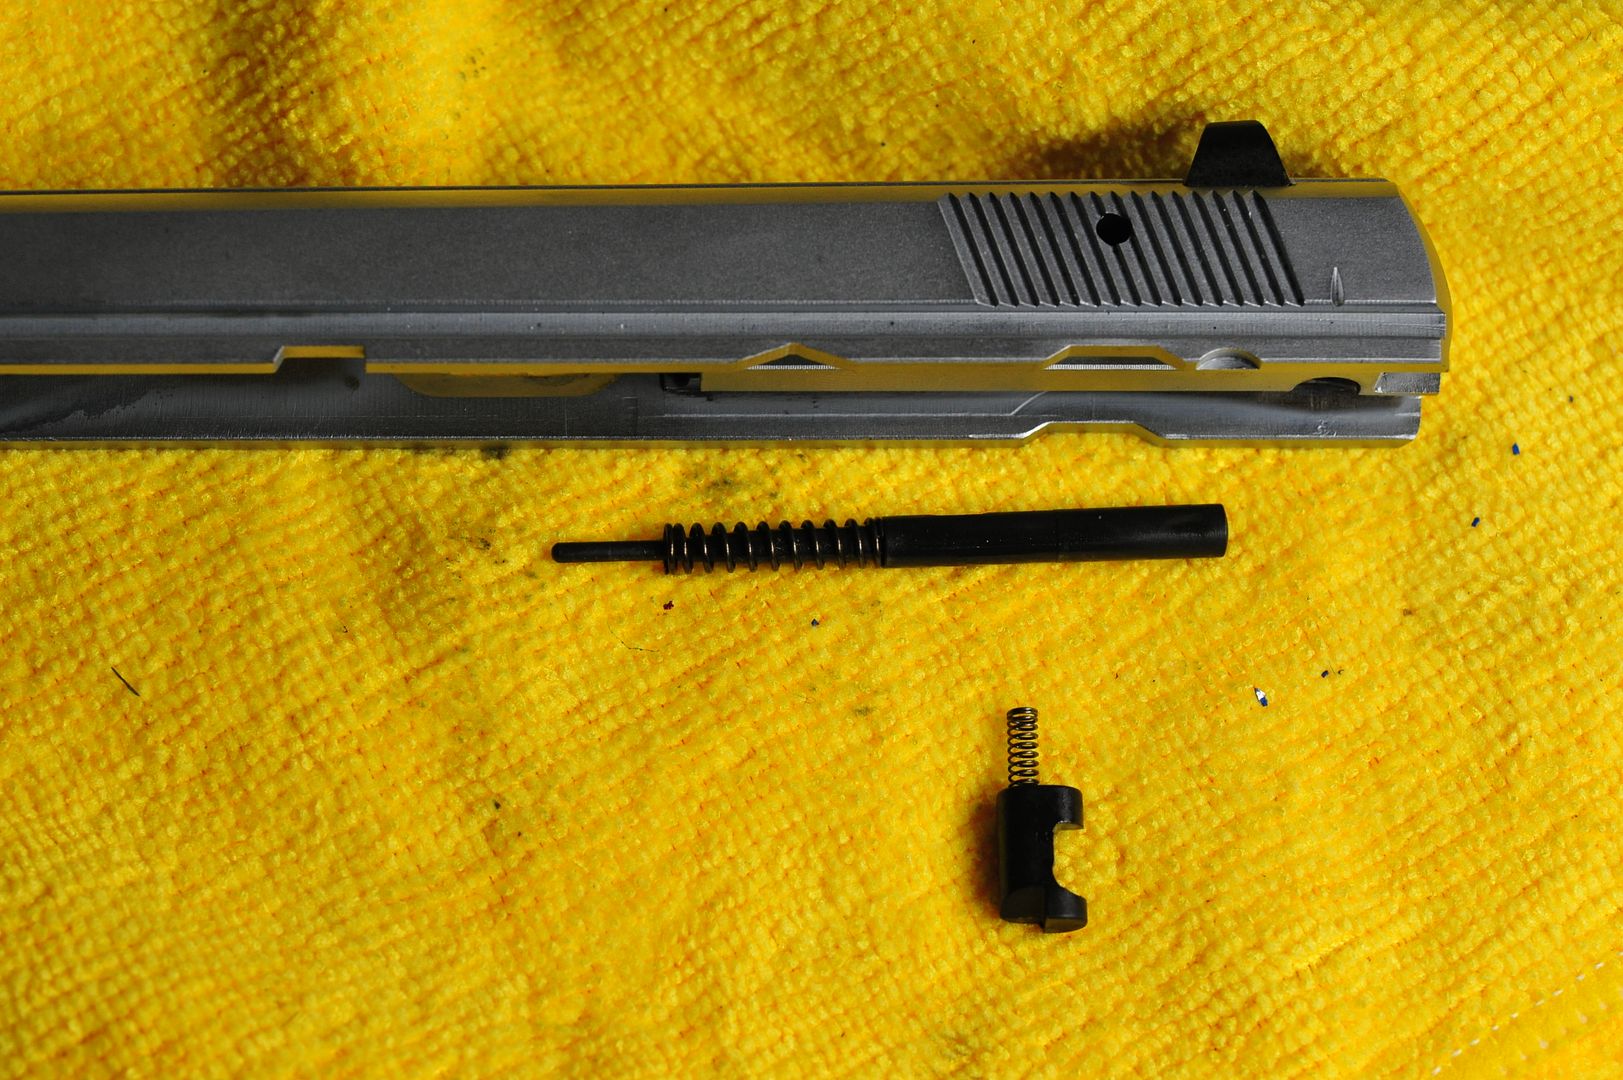
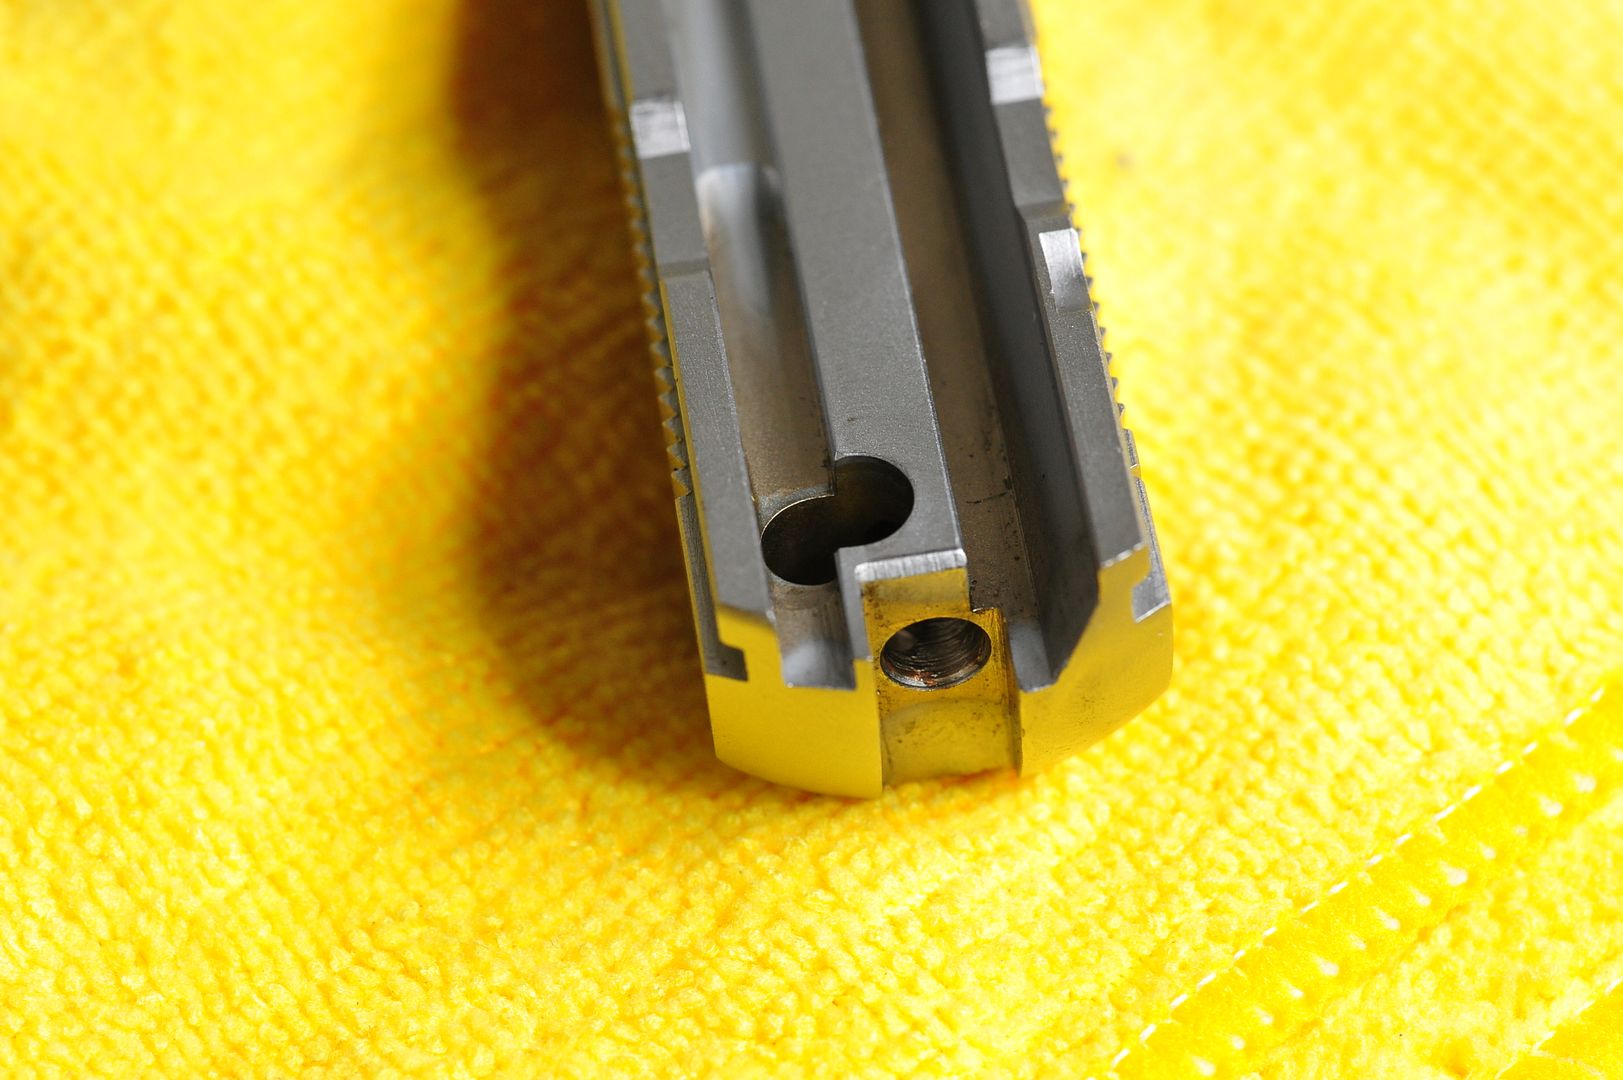
Here you can see the holes for the Firing pin and the Firing pin Block.
Change the springs with the ones provided with the kit. and reverse the order above to reassemble.
One word of note here, I did order a spare Firing pin retaining pin just in case I had problems with the stock one, it is cheap insurance to keep you from having the gun set on your bench while you wait for parts.
Now for the Hammer spring, if you have not done this before, you will take the frame without the slide.
remove both grips
turn the frame upside down
make sure the hammer is dropped
Inside the grip/ magazine compartment you will see a flat piece of metal pull this toward the trigger until it comes loose at the butt of the gun.
Now use a punch, I like a tapered punch push down on the hammer spring retainer and while you have the retainer pressed,
you will press out a 1/16" pin that holds it in place by using a 1/16" punch pushing it out from side to side. (grip surface to grip surface)
carefully release pressure on the retainer, I say carefully as they like to launch across the room if you slide you finger or punch off before the spring is extended.
Remove the old spring, and reinstall the new spring.
Reassembly is reverse order of what you just did with one exception.
The magazine brake, aka that flat piece of steel, it can be a trick to get this reinstalled.
I was able to straighten the end of the magazine brake slightly and here is the tricky part.
While you press the hammer spring retainer down passed the retaining pin point as far as you can go, press the end of the magazine brake passed the hammer spring into the slot on the retainer, it really is a three hand act, because if you slip you will be searching for the retainer somewhere across the room.
Once you have it inserted slowly retract the hammer spring retainer until it is close to flush with the butt of the gun, at this point slide the retaining pin side to side holding the assembly in place.
WOW THAT WAS A MOUTHFULL.
upon reassembly, we can see the results.
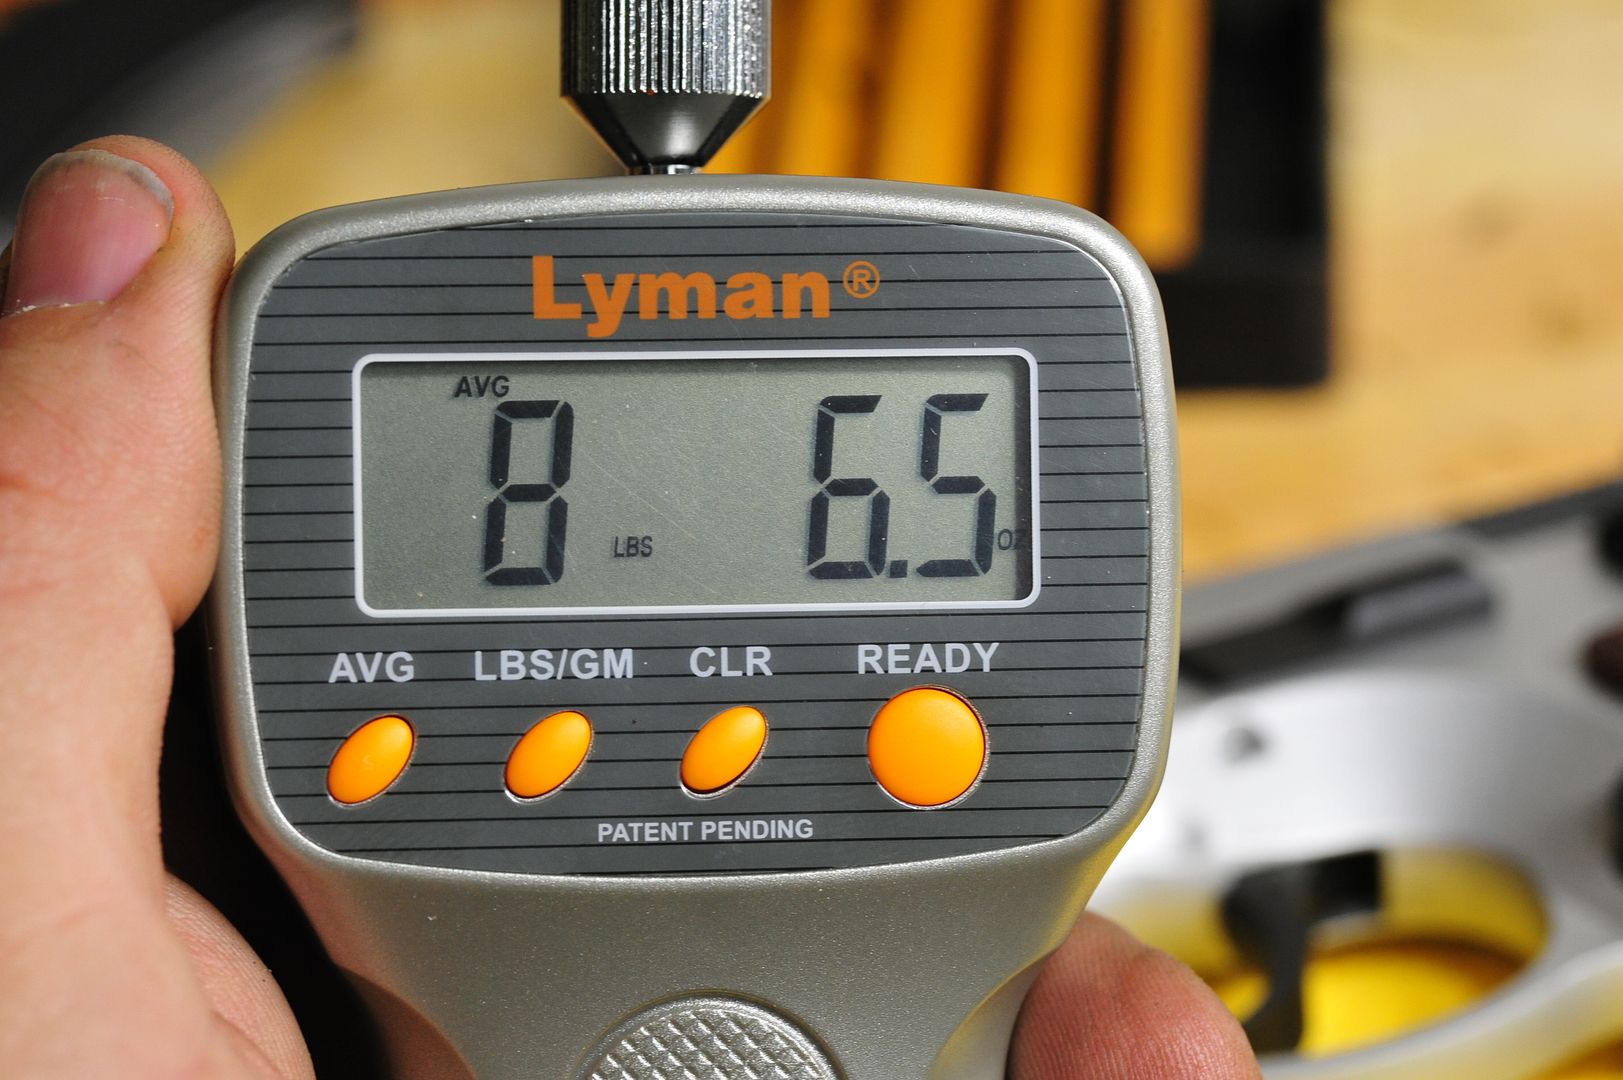
Big difference for the DOUBLE ACTION,
8 lbs. 6.5 0z. (10 pull average) WAY, WAY BETTER THAN BEFORE and I have not polished anything yet!!
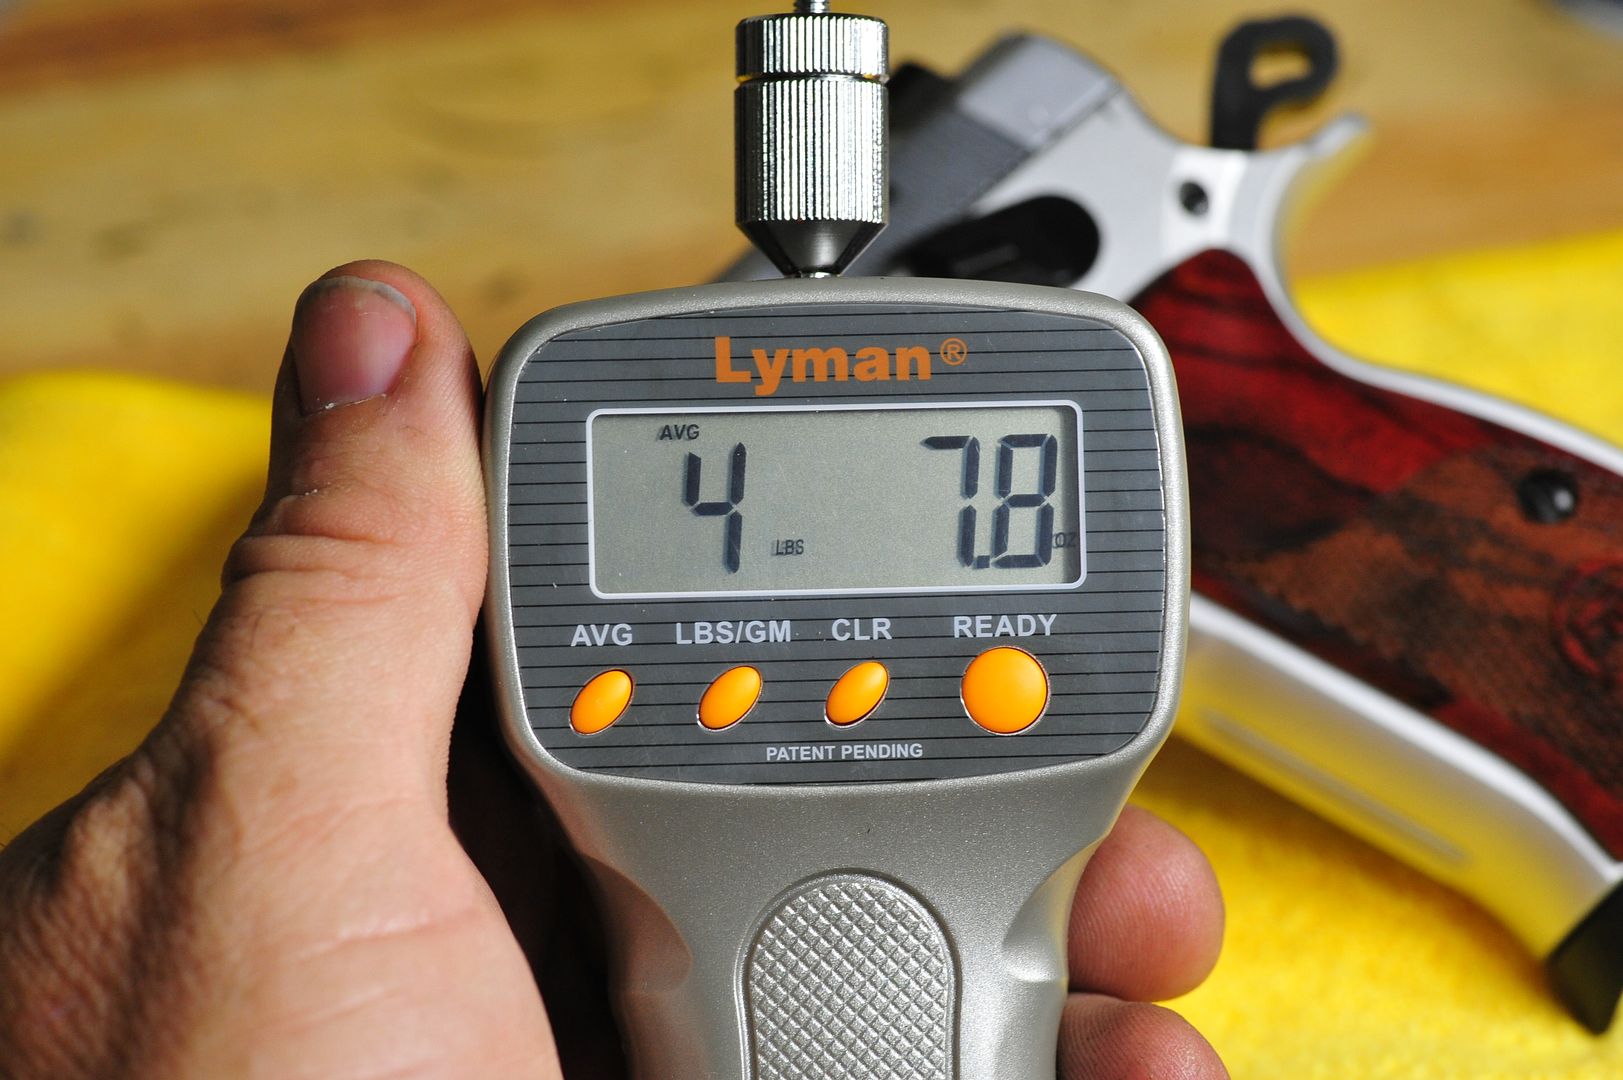
 Single Action nice drop as well 4 lbs. 7.8 oz. ( just over a half pound drop from stock)
Well one last thing for the night and I call it quits.
We just have to see what the new grips look like!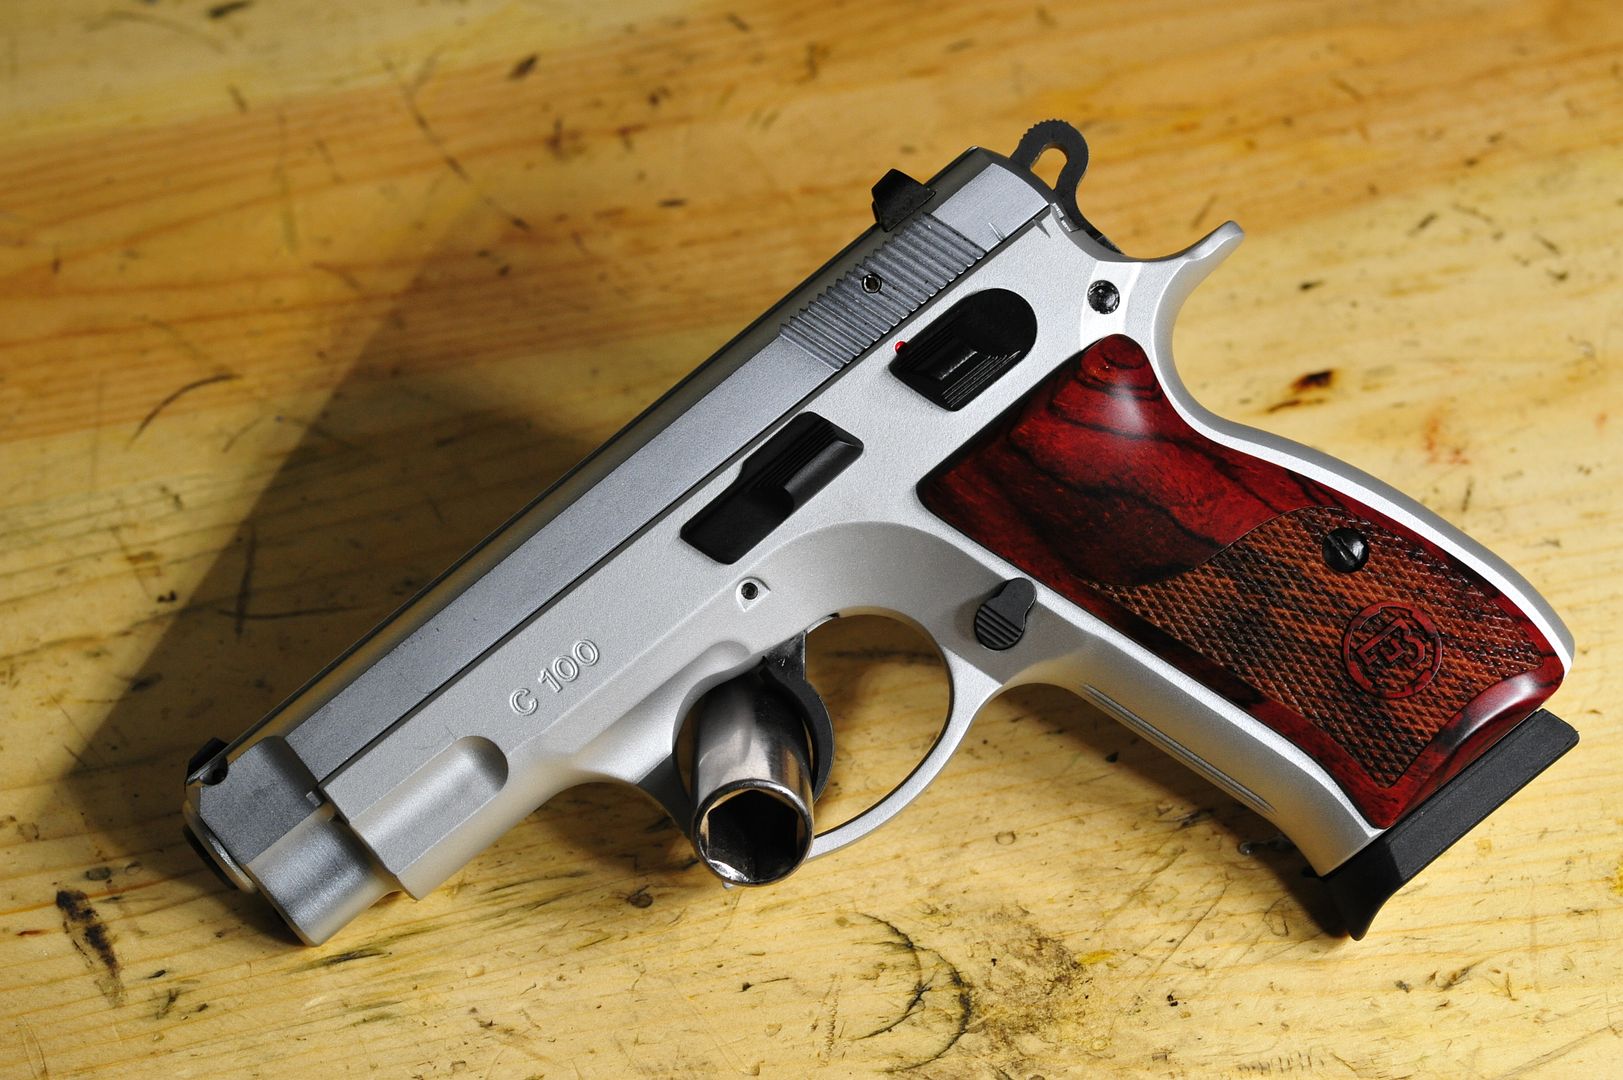 Most of you could probably use a cliff notes version of this, but I wanted to write this also for the guys who have not tried these mods before.
Please feel free to give your opinions.