PART 4 POLISHING THE ACTION AND INSTALLING THE 85C TRIGGERIn part 3 I finished the install of the new sear.
Last friday I got to go out and shoot for a while and I will say the work on the gun has drastically improved the feel of the trigger.
I no longer feel like you have to focus as hard to keep from pulling your shots.
The feel is approaching the feel of my other guns.
Each stage in this modification has been a diminishing return process, meaning that we get less with each step compared to the last.
That is also true of this step, however I feel that the polishing gives a refined feel to the trigger. In the Canik, the trigger and sear parts appear rougher compared to a CZ. The CGW parts remove the roughness from the hammer and sear, but you still have a lot of surfaces that rub even more during the pullng of the trigger. Polishihng these tend to remove that grittiness comment we all see.
At this point I want to point out that all the work being done on this segment is a what I have learned on this excellent thread started by none other than Schmeky and with input from other talented gusnsmiths.
http://www.czfirearms.us/index.php?topic=42537.0As before you need to disassemble the gun starting with the safety check, them remove everything done to the frame.
Now you should have frame with the trigger, trigger bar, and magazine catch, along with the associated springs.
Simply tap out the trigger pin, side to side does not make a difference which direction.
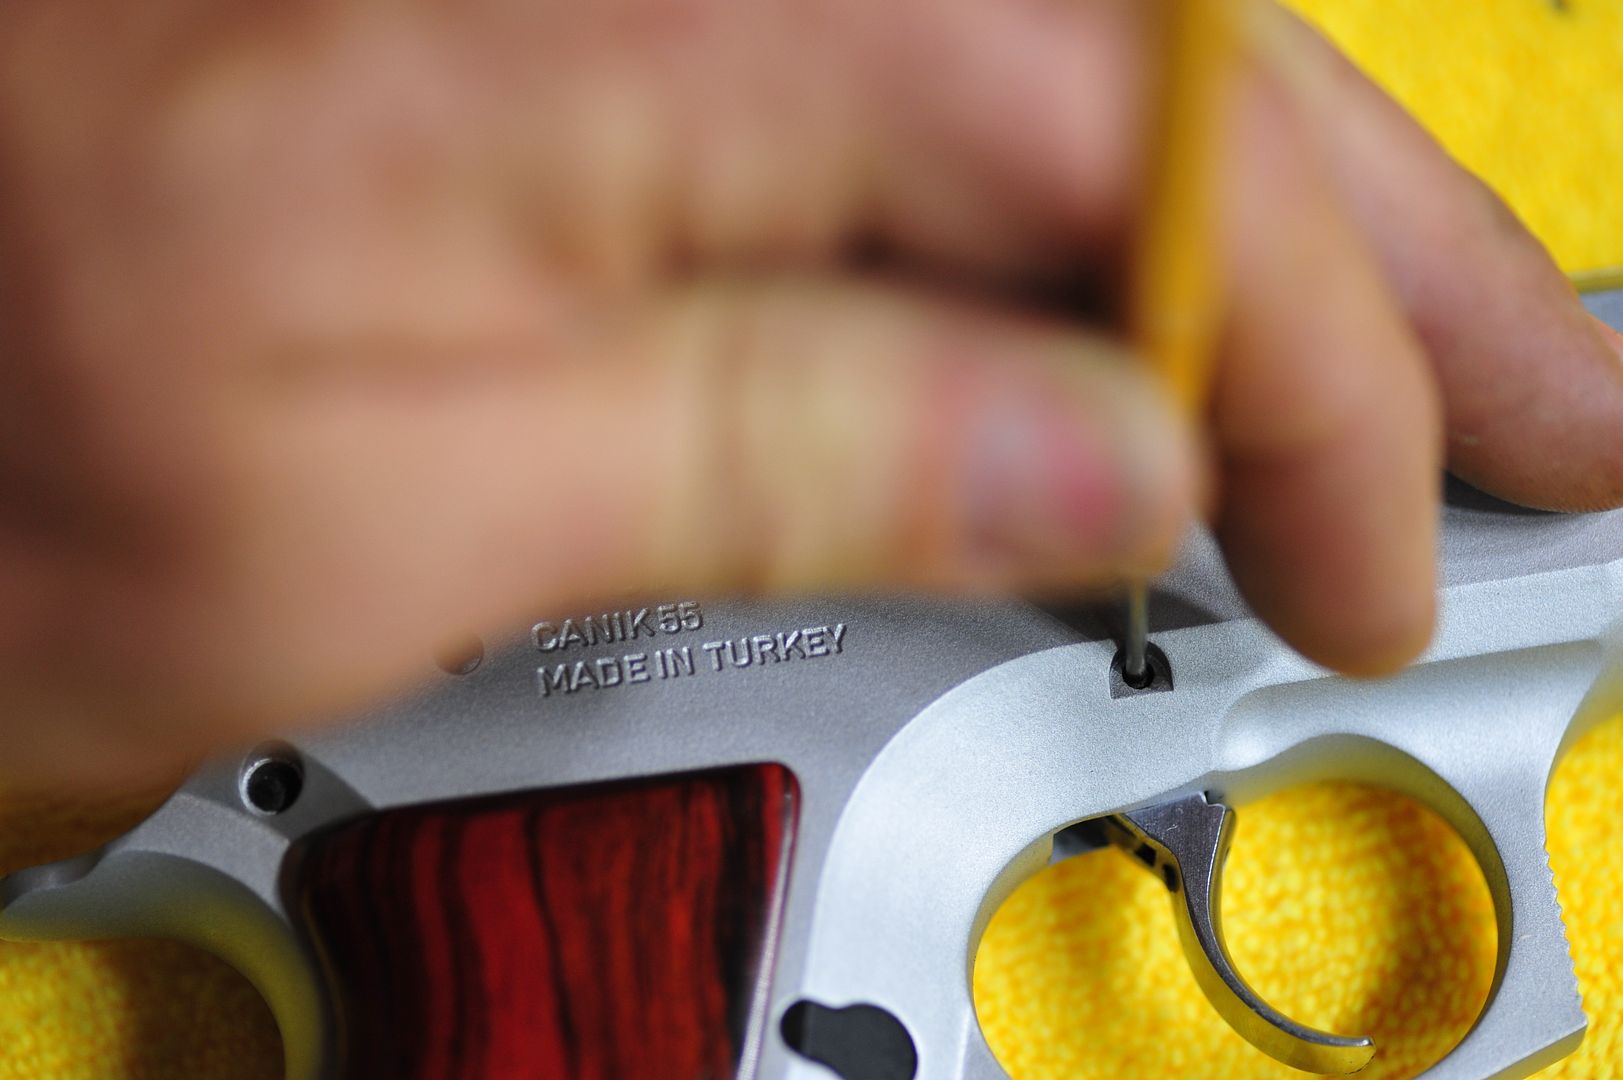
Once you have removed the pin you can push the trigger up out of the frame and pull the trigger and trigger bar froward toward the front of the frame to lift it out.
I will be doing less pictures on this one as Schmeky has done an excellent job with the thread mentioned above.
I tend to start with the large surfaces and work my way down to the small areas detailed by Schmeky.
For the large areas I tend to use a block to wrap sand paper around and work the surface of the trigger bar against it.
ON the Canik I started with 1000 grit and finished sanding with 2000 grit and then finally polishing the assembly with a dremel and white rouge.
I polish the large flats on each side of the trigger bar as this is one of the largest contact areas.
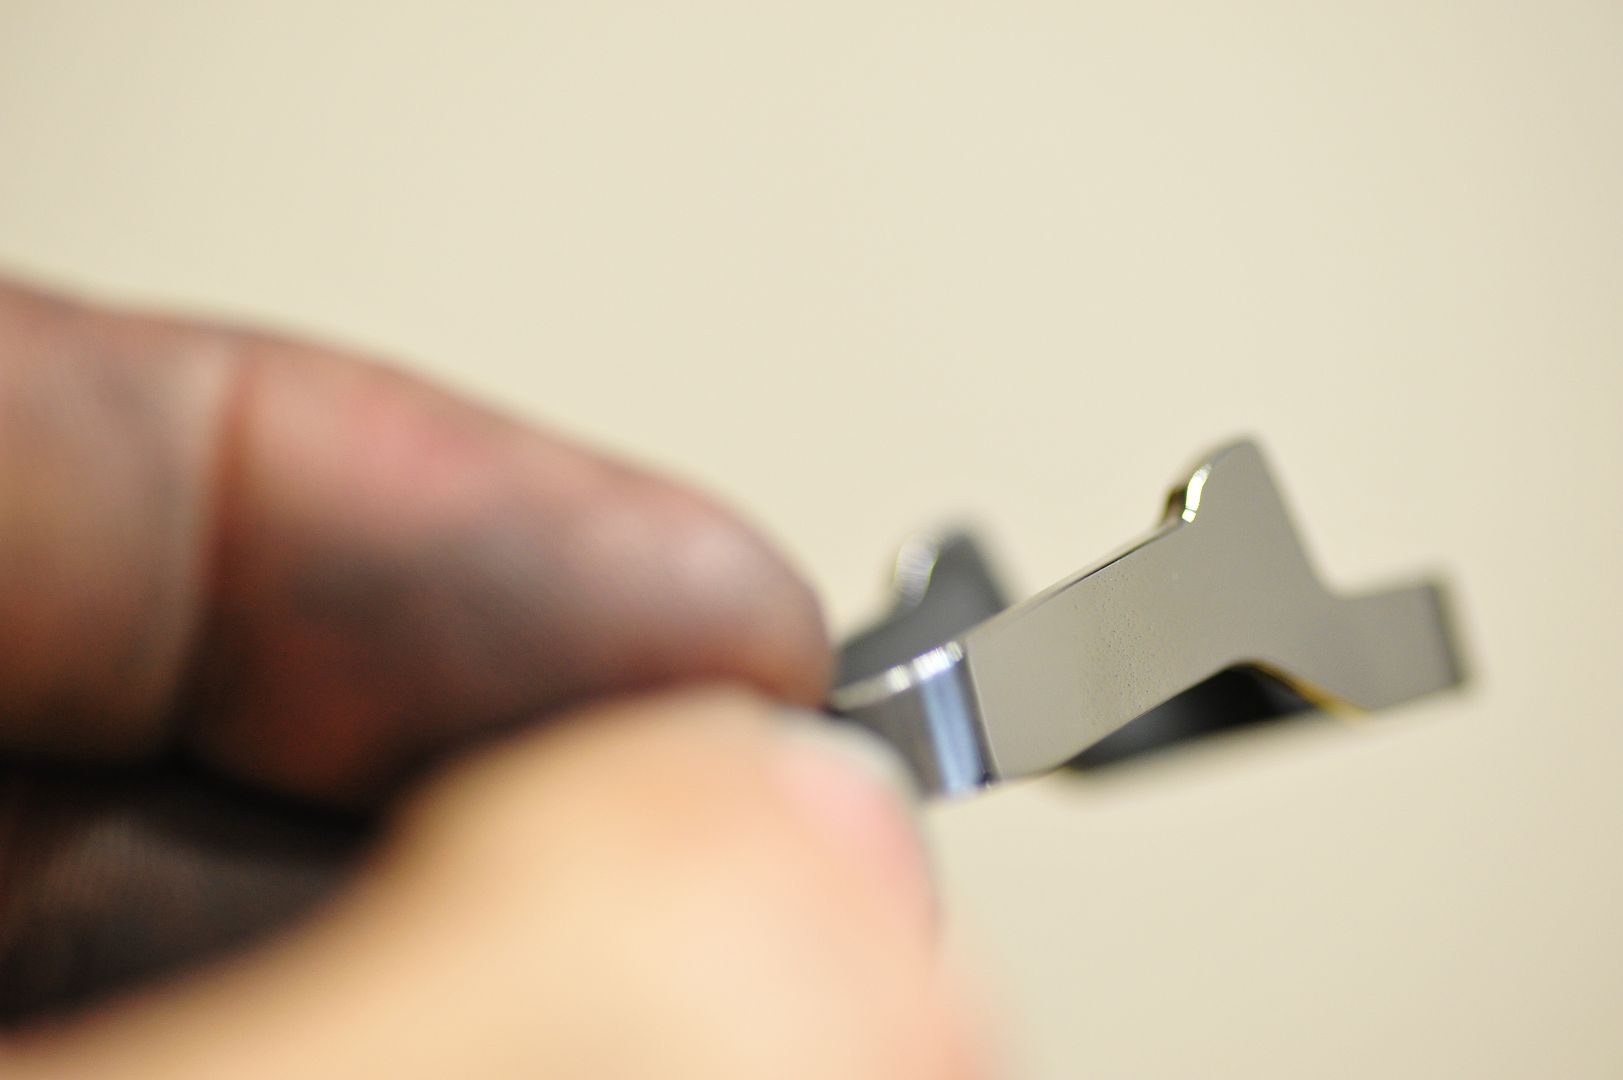
sorry this shot came out slightly blurry.
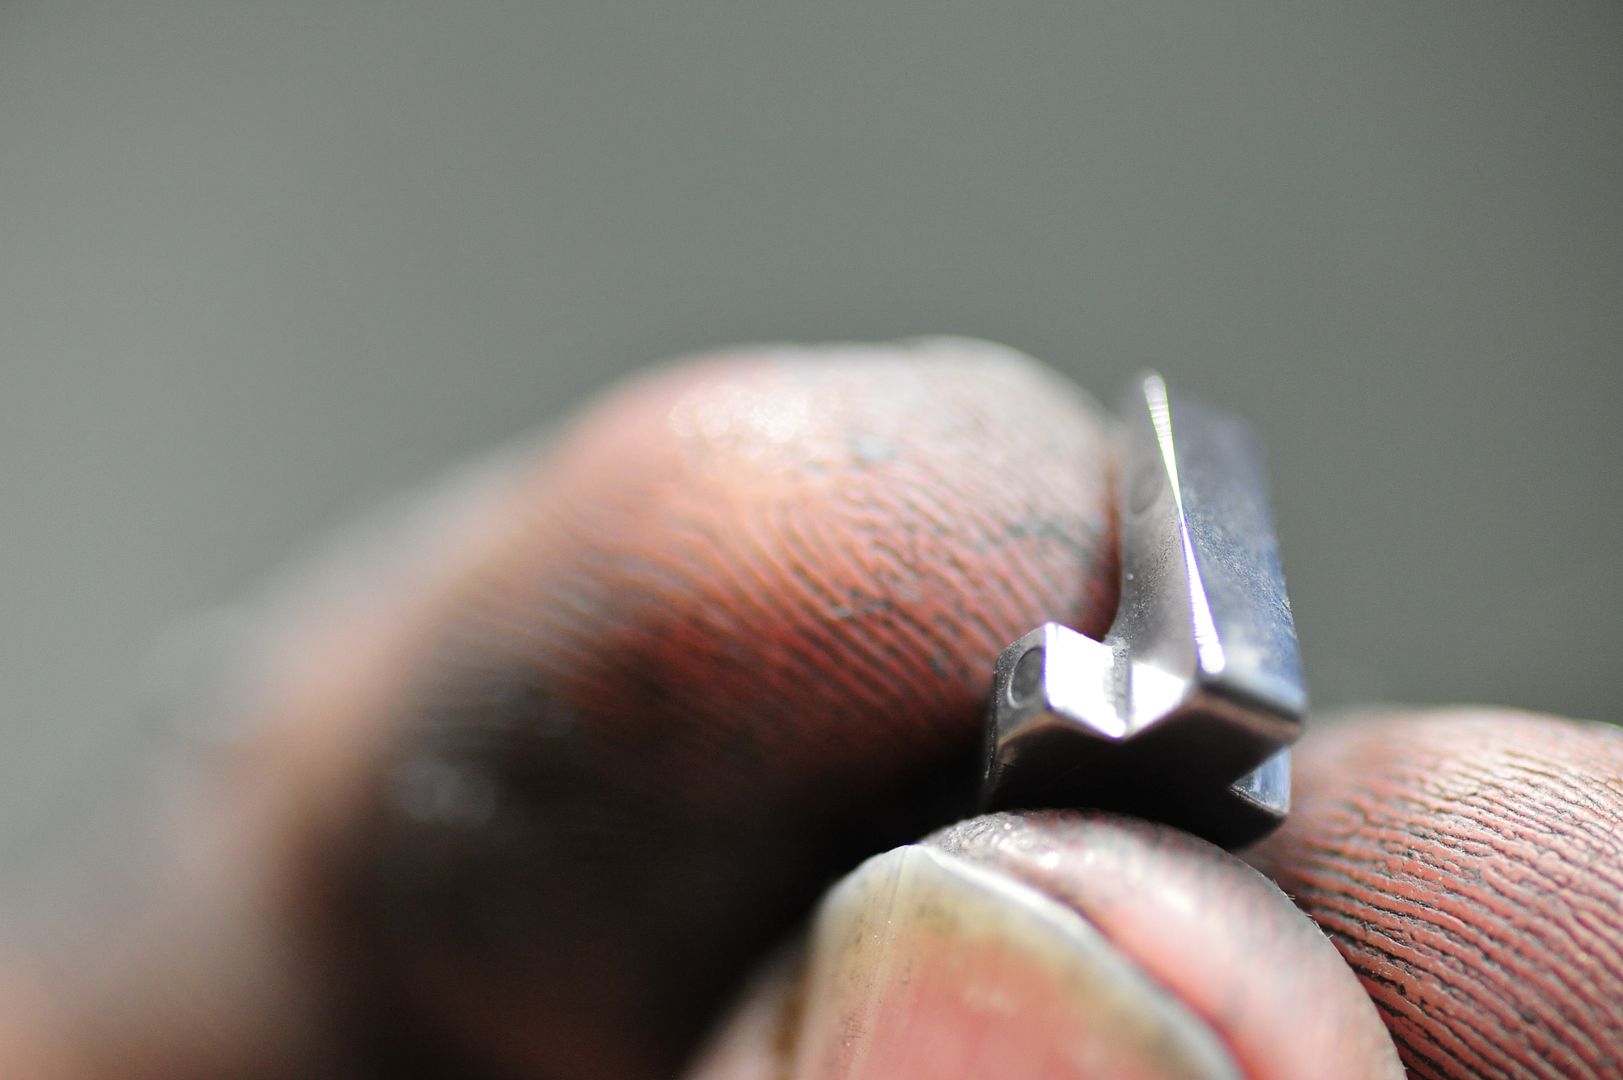
I do the top of the trigger bar just as Schmeky has described.
The area that is clearly visible in this shot are all areas that rub against the frame or the slide. Just as I did with the flats I polish this to a mirror smooth shine.
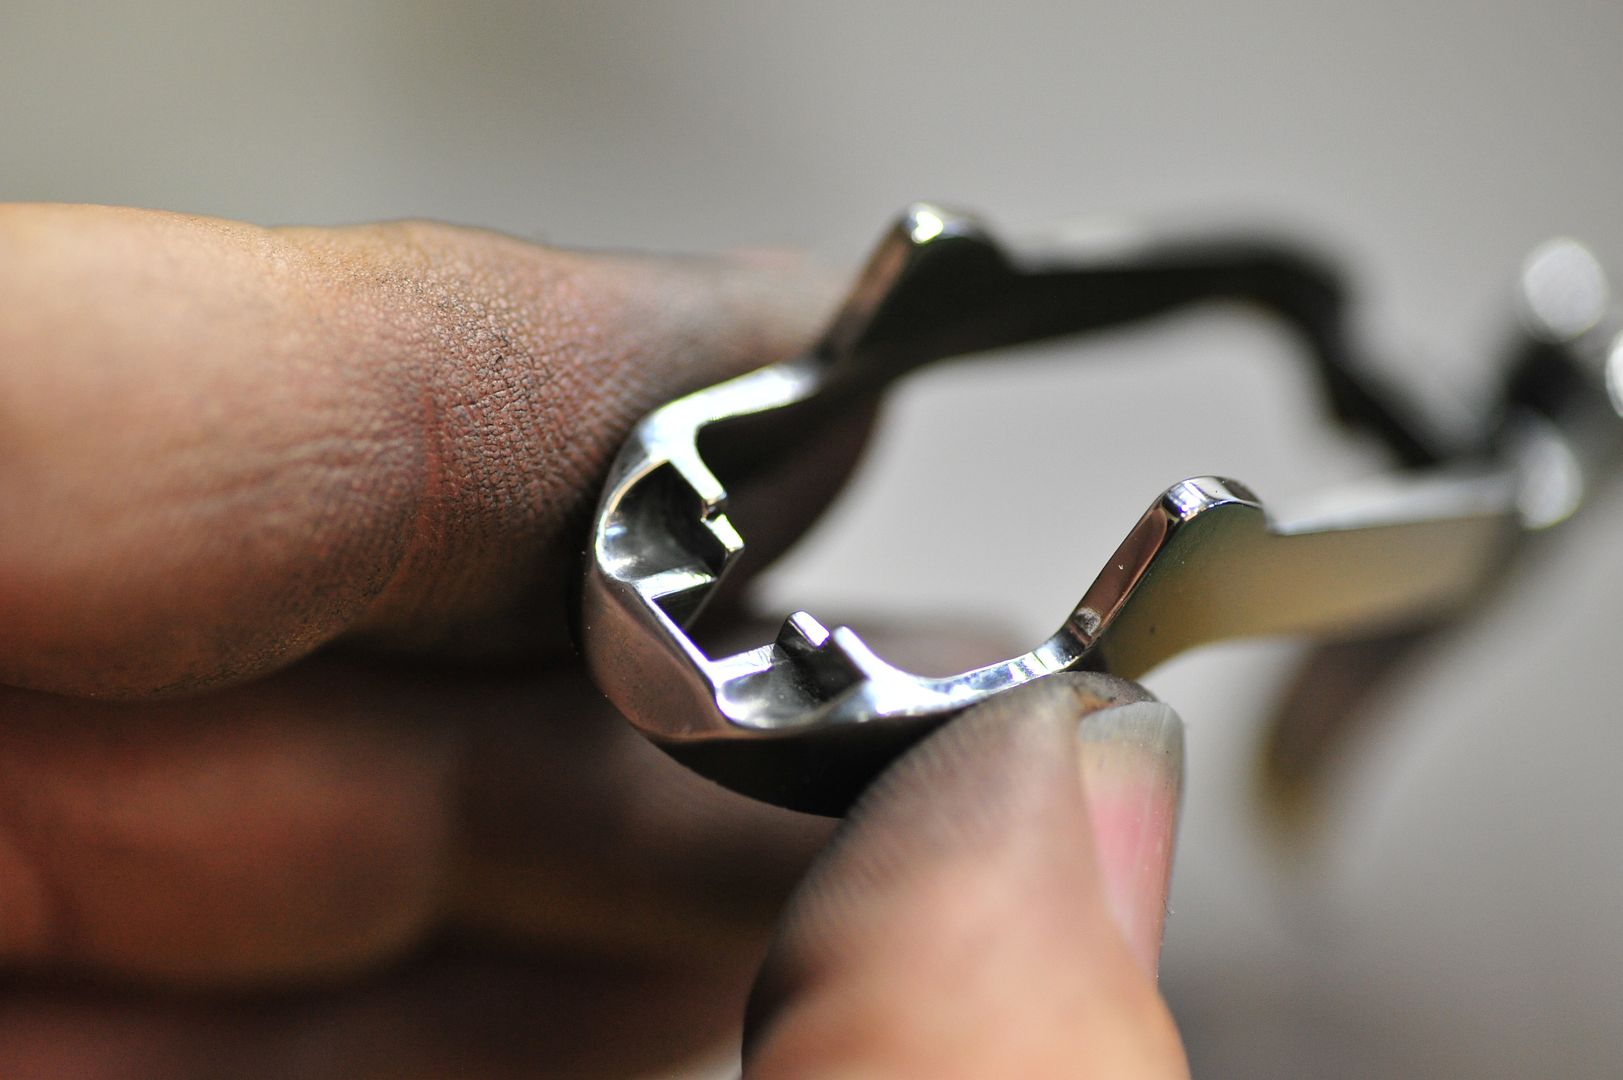
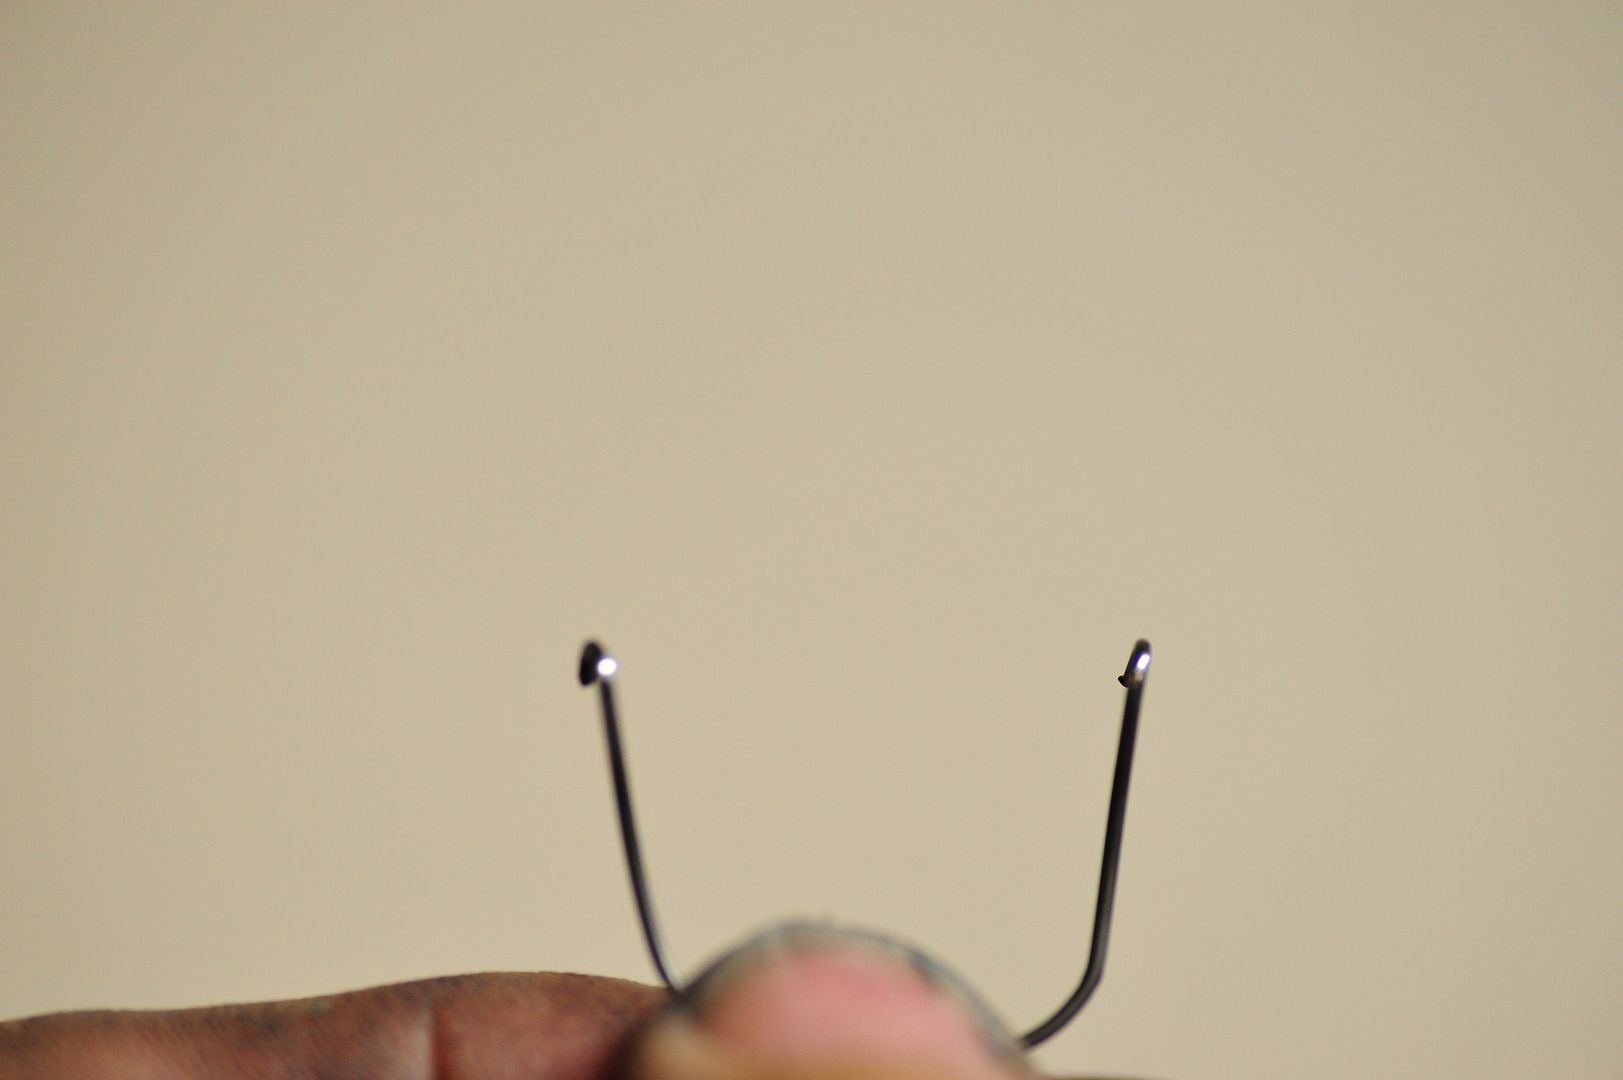
Another area that I address is the surface that the trigger bar lifting spring rubs, it is 2 slots on the bottom side,
and this was brought up in this thread here
http://www.czfirearms.us/index.php?topic=14685.0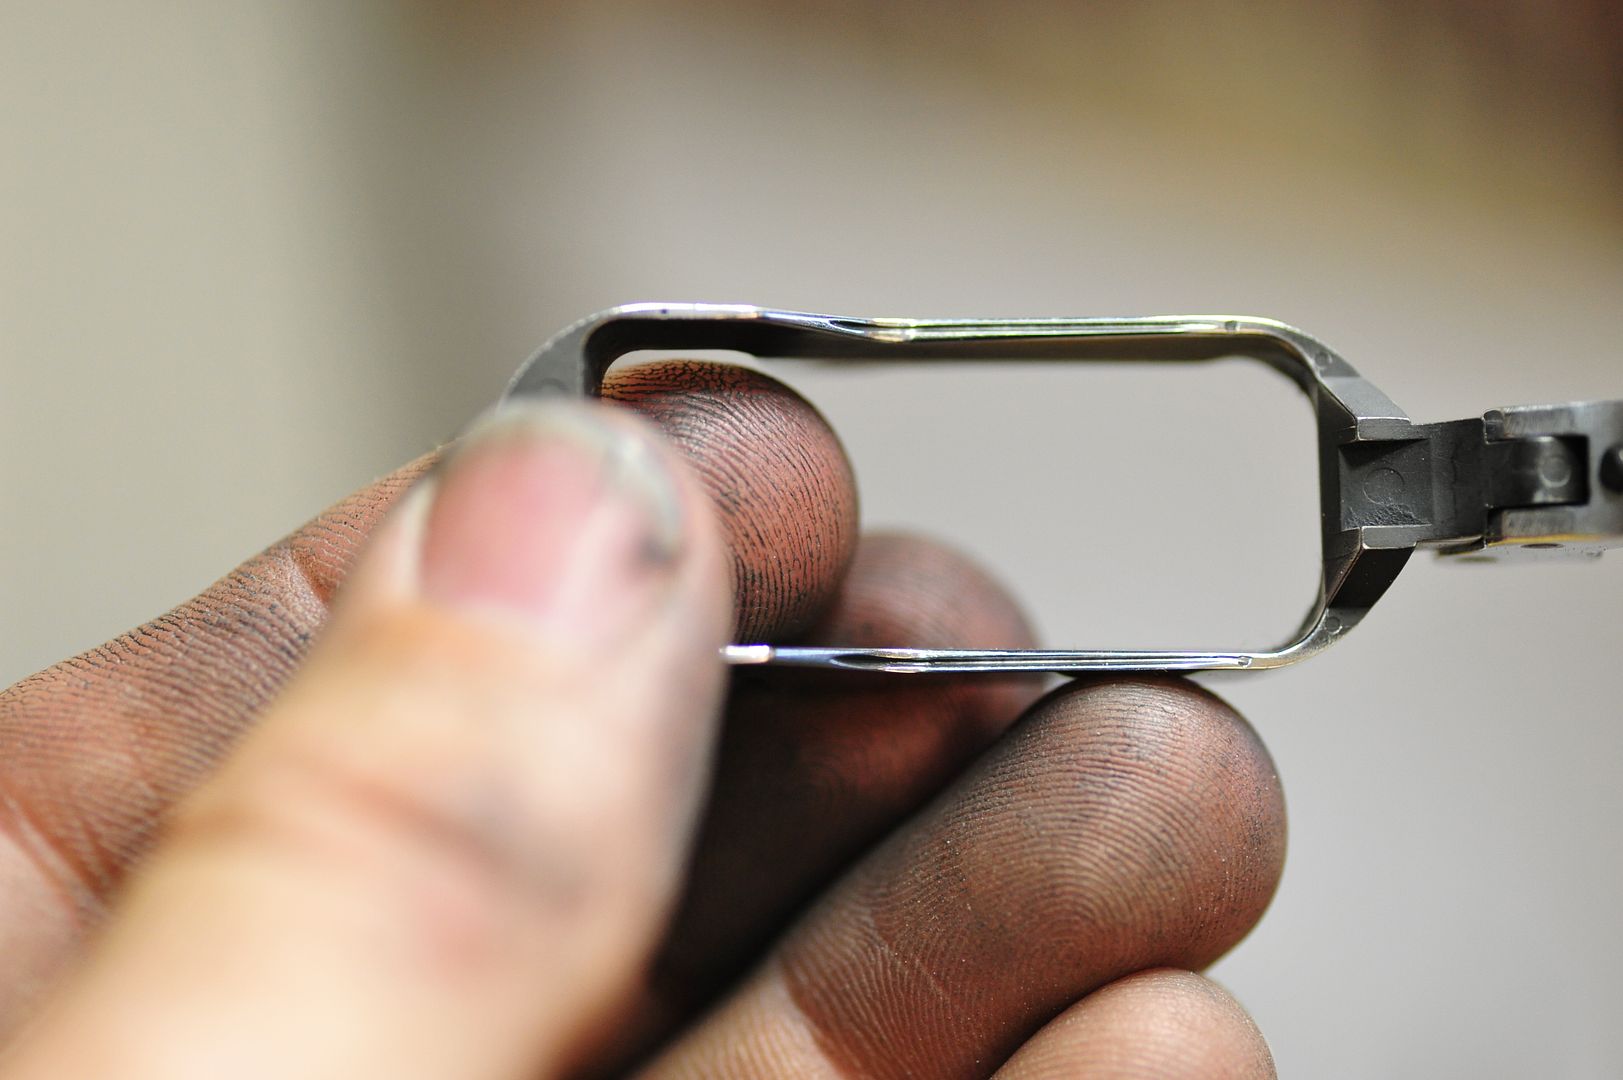
And just for giggles I polished the ends of the spring, again this is a diminishing return thing but while I have it all apart it is easier than wondering later if I should have done it.
Polishing the disconnect engagement surfaces helps the feel of the break, so that is done as well, with everything being done as described in the thread by Schmeky.
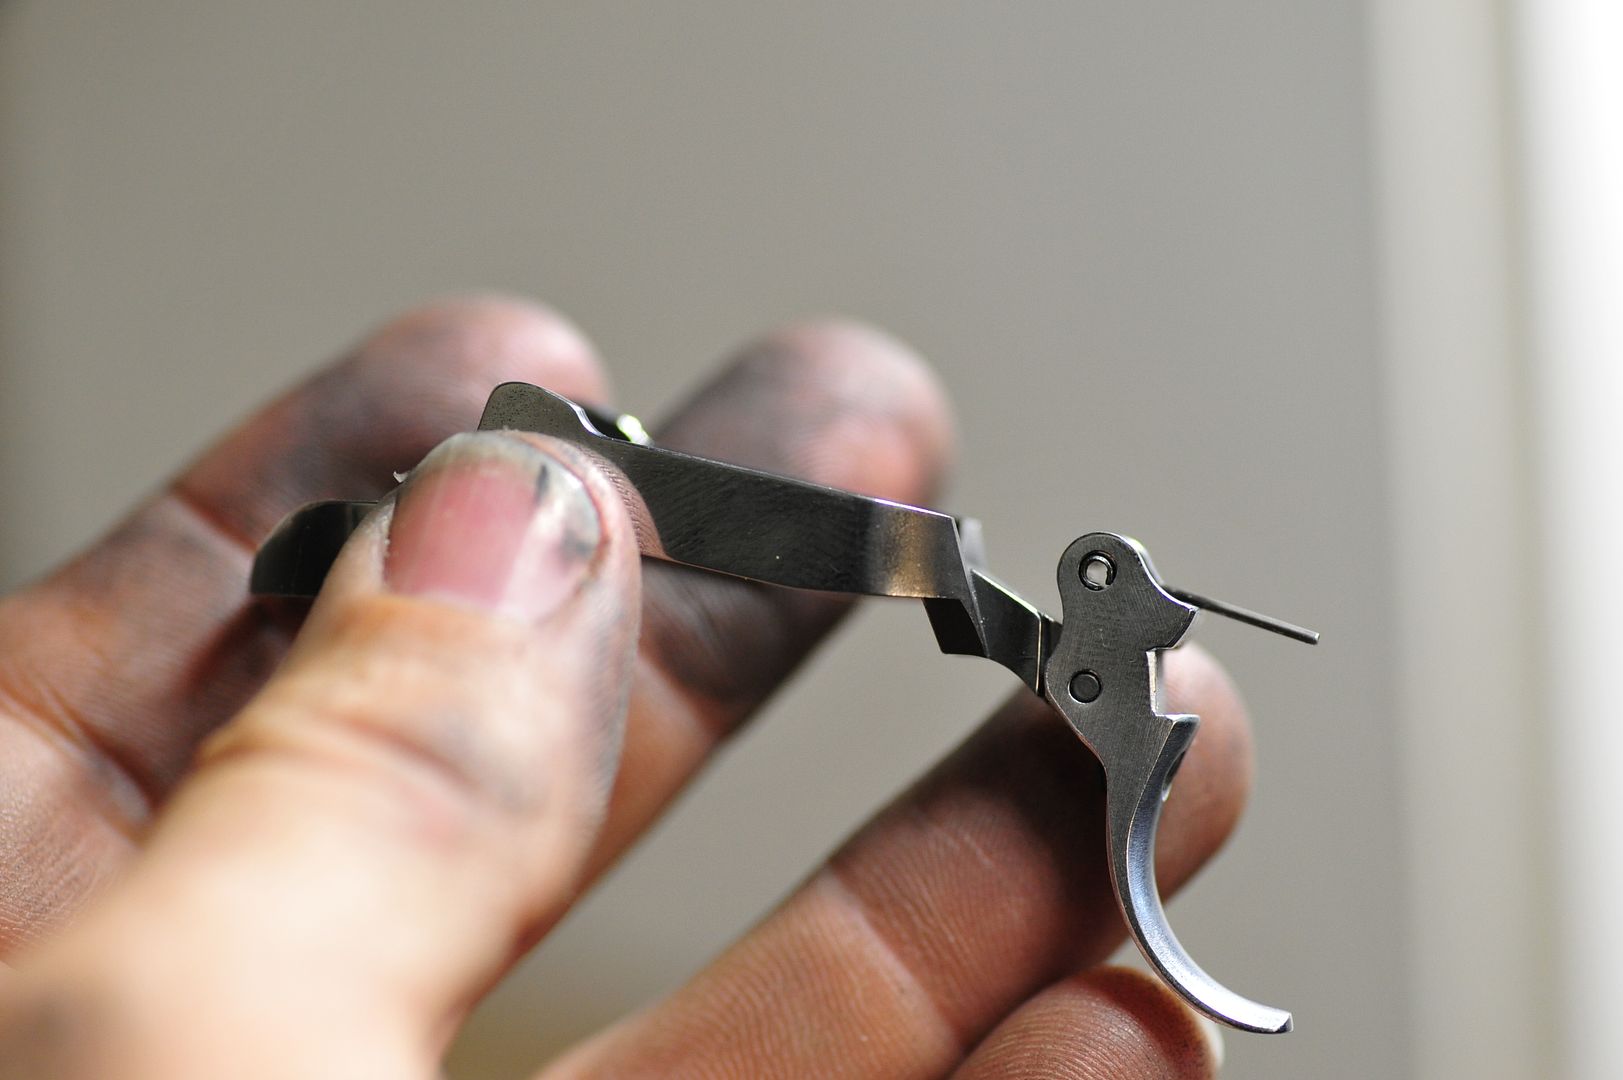
So once everthing is polished I reassemble and in this case I add the 85C trigger inplace of the stock trigger.
My reason for using the 85C trigger is strictly for the overtravel screw. I have it on my SA and on the RAMI so I like to keep some uniformity amongst my various guns. The newer style 85C trigger also has more scallop than the old one, which I will go into taste latter, but it allows for a slightly less reach to the trigger if you have small hands.
With floating trigger pin, CGW provides you with a slave pin this allows you to install the trigger return spring with the trigger bar and trigger as one assembly instead of installing the spring inside the frame. Also install the set screw inside the trigger before installing the assembly it is lot easier than doing it around the trigger guard.
Now we can reassemble the gun, install the trigger/trigger bar assembly in the opposite fashion you did in removal and install the trigger pin.
I have opted for a CGW floating trigger pin on this gun, and I like it. unlike the CZ trigger pin, this one is turned down in the middle allowing the trigger spring to capture the pin instead of needing to be a stacked pin like the stock one.
Now that I have reassembled the gun it is time to check my results.
I am going to start with the objective results.
DA trigger pull for the polished trigger assembly.
10 pull average 7lbs. 2 oz. Wow! that is down a full pound from Part three, and 11lbs. from stock! (going by Farmerbobs results)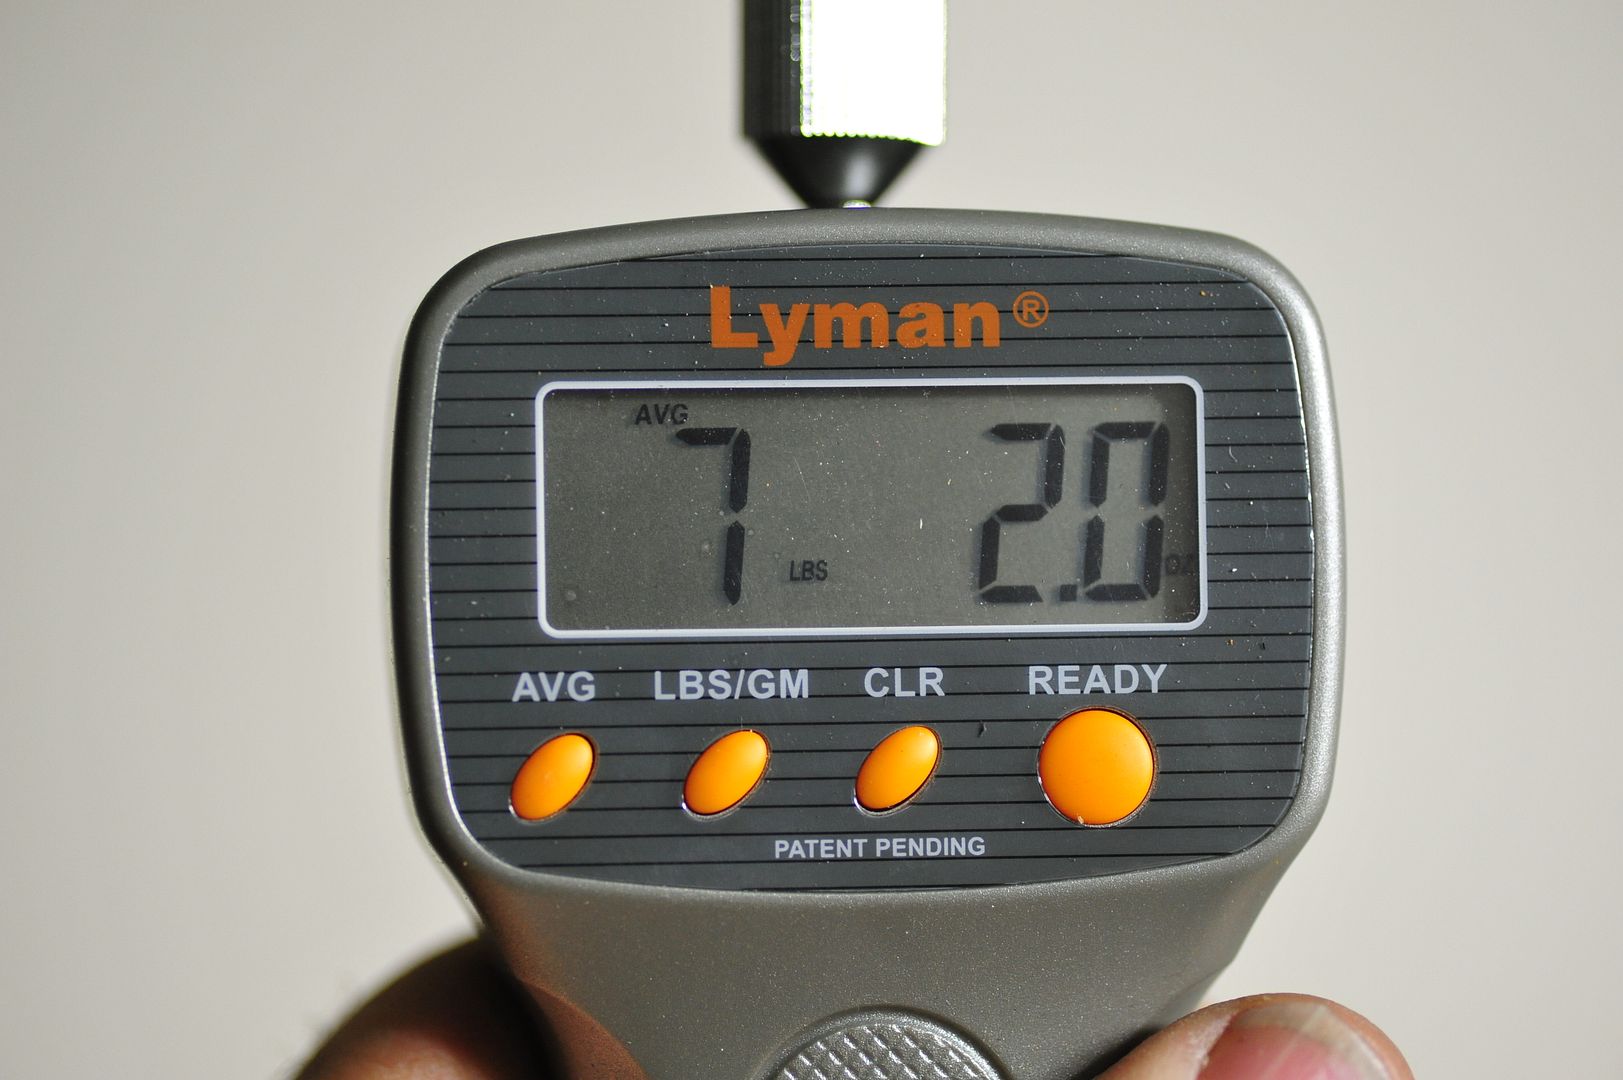
SA trigger pull for the polished trigger assembly.
10 pull average 3lbs. 6.3 oz. this is a 3.4 oz. drop from Part 3, and 1 lb. 12.6 oz. from stock.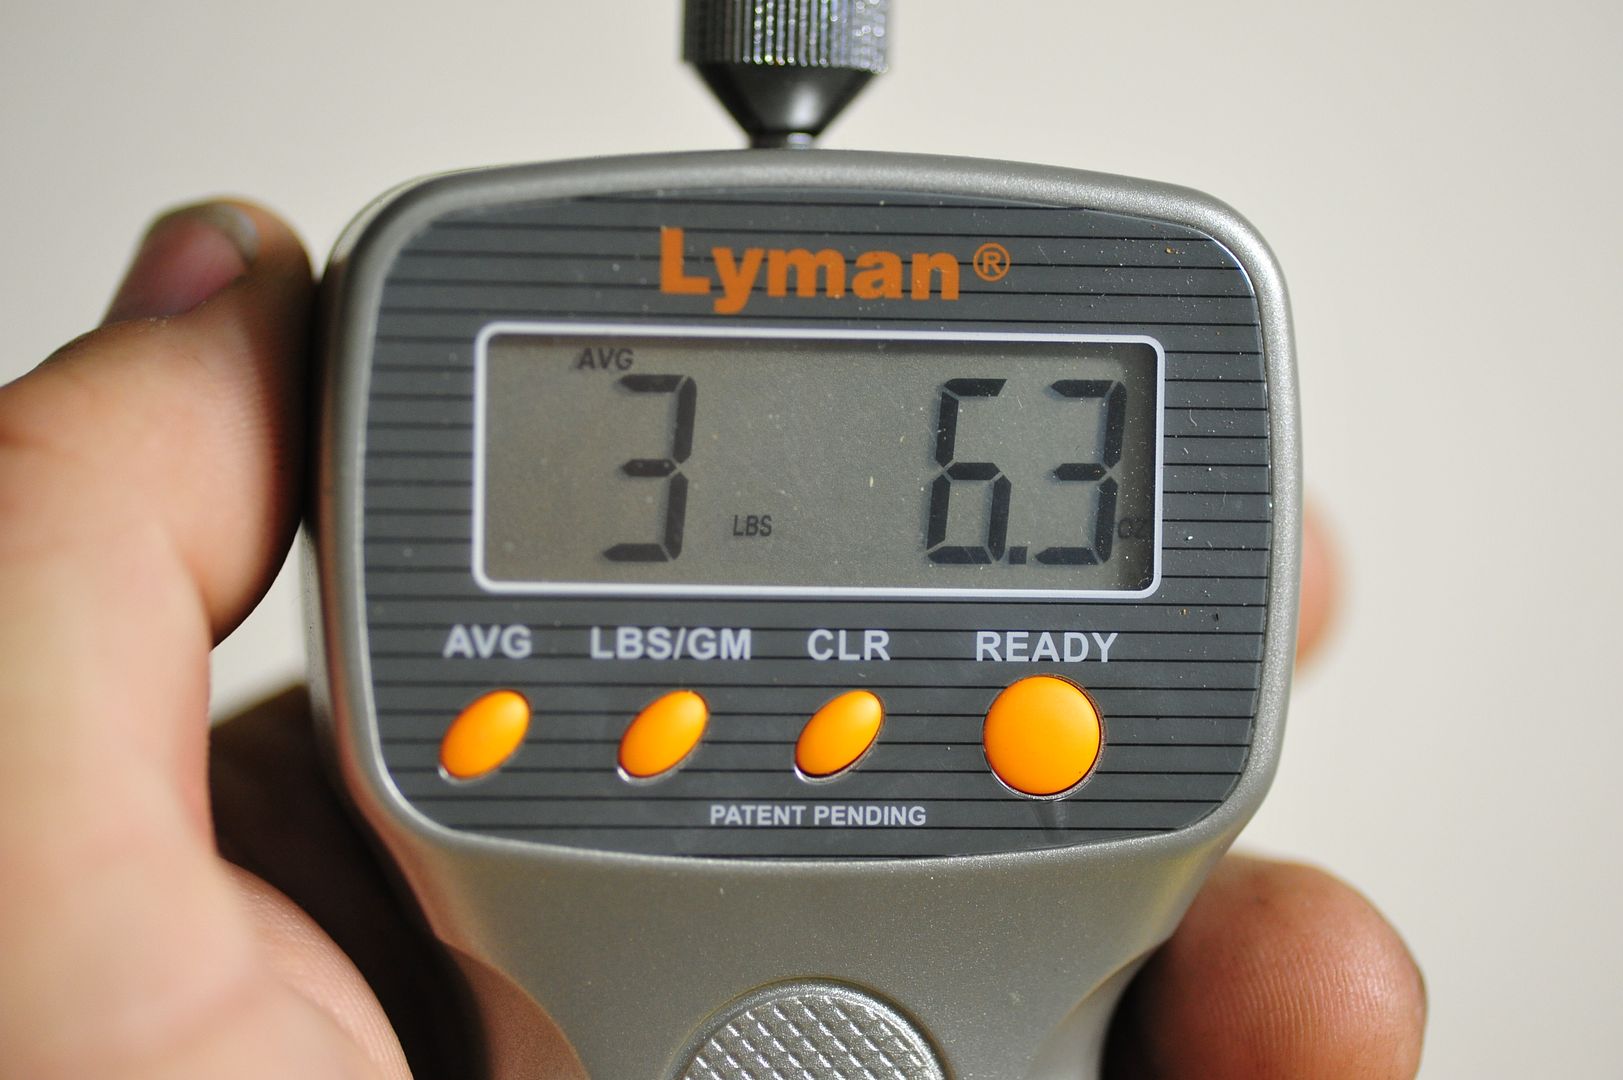
For the single action shooters here the numbers are not a huge change but I can tell you that subjectively it is a big improvement.
This trigger for this gun is nearly the same as my CZ RAMI, it is the reference that I use for double action triggers as it is the best that I have every felt for double action. Single Action my SA is from another planet but that is another story altogether.
One thing that I notice between the C-110 and the RAMI is pretravel and trigger stacking.
This is where my RAMI has always excelled, the pretravel is very light and you cannot feel the stacking unless you are very very slow looking for the stacking point.
Let me take a moment, to explain the stacking feel for Single Action on any CZ with a firing pin block.
When you take up the pretravel to the point of sear engagement, there is a point where you start lifting the firing pin block just before the sear breaks and the hammer falls that creates a slight change in the weight of the trigger pull therefore you feel a slight difference as you move through the travel.
With a stock Canik the only point that the firing pin block is lifted is when the sear has begun to be moved, so it is not felt on pretravel but as part of the longer sear break.
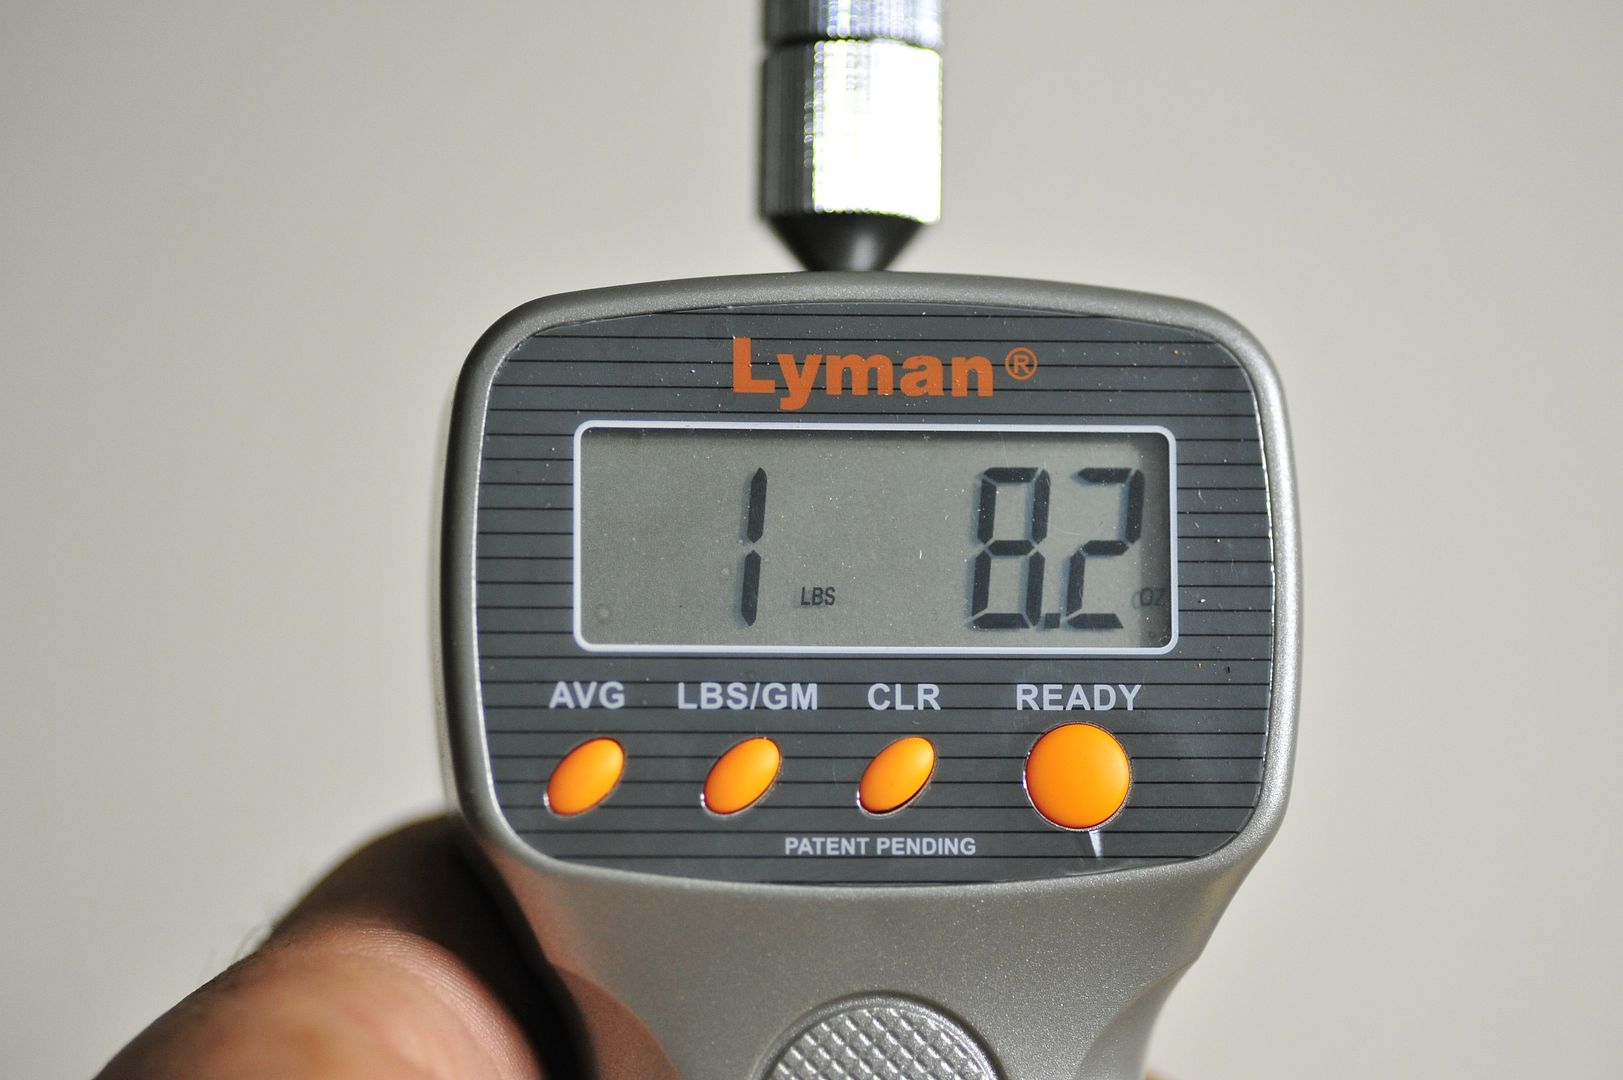
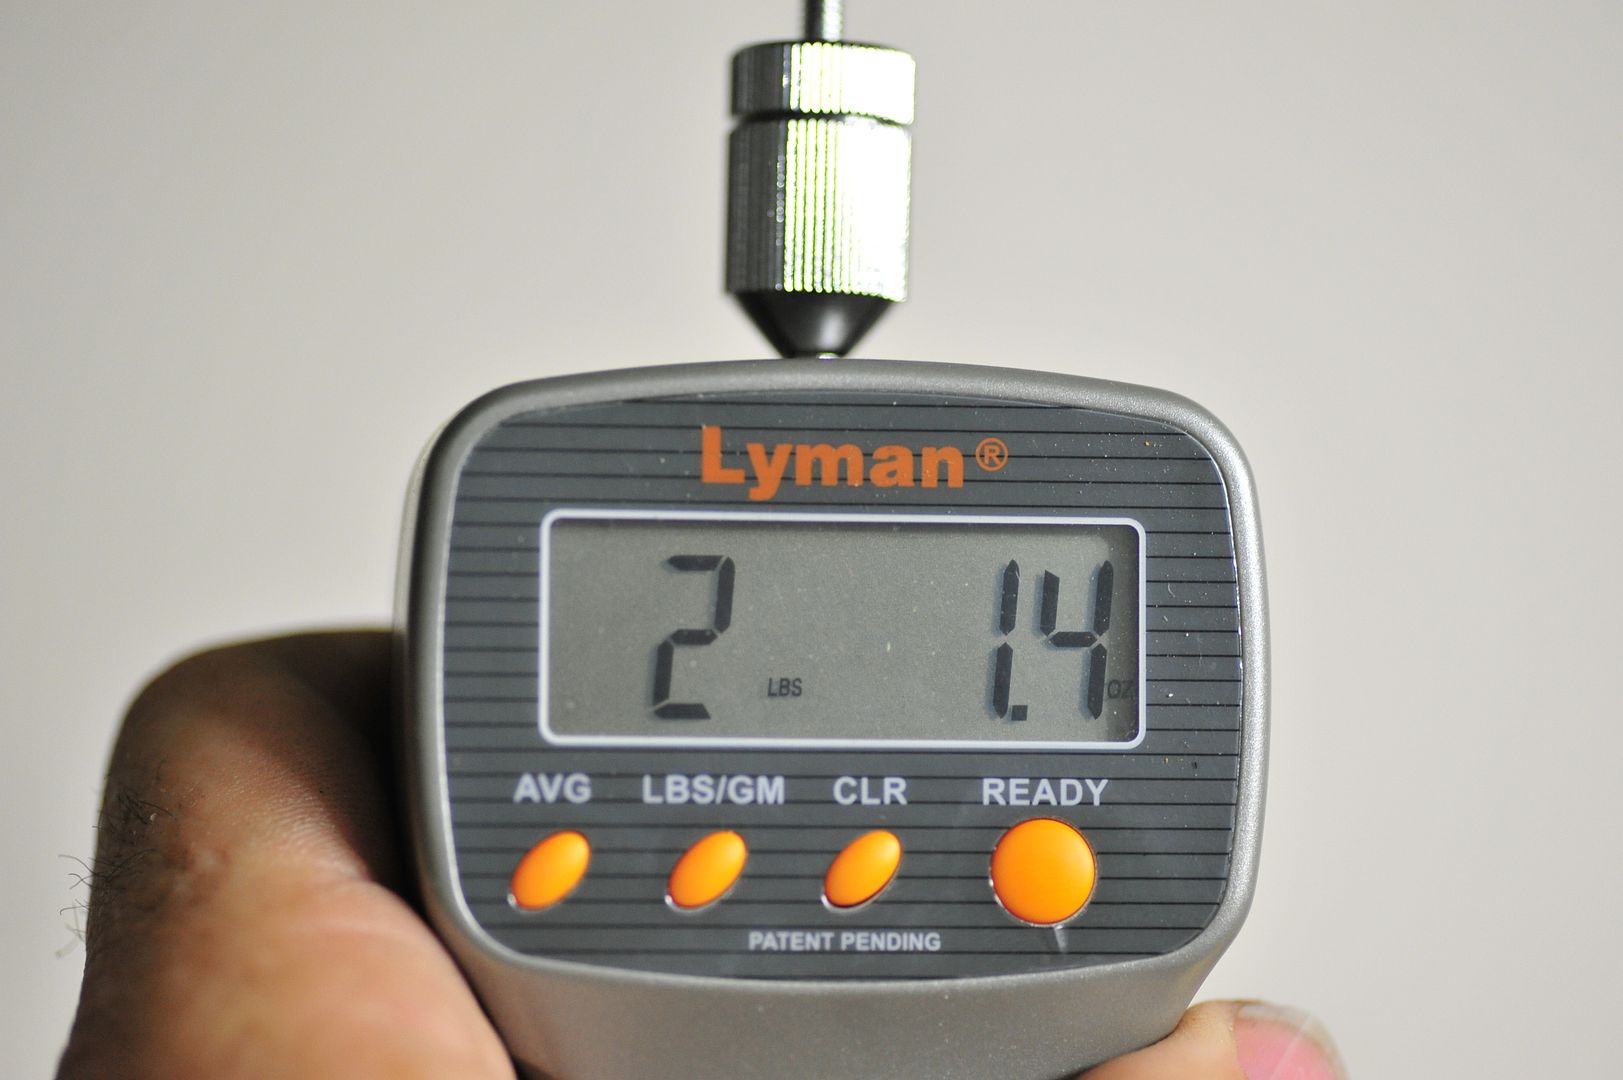
Also I wanted to quantify the weights of each gun for pretravel (sinle action) including the stacking of the firing pin block.
The RAMI measured 1lb. 8.2 oz.
The C-100 measured 2lbs. 1.4 oz.
The lighter pretravel on the RAMI is most likely a lighter trigger return spring combined with a polished firing pin block on that gun.
At a later date, I may try doing the polish of the Firing pin Block which I did not do on this gun to see if it lessens the perceived stacking.
Keep in mind that this is looking for differences and that most will only feel the lighter pretravel attained from polishing of the action.
Double action stacking is created by another event that happens, which is the half cocked position of the hammer, with a heavy hammer spring you do not notice this as you are so busy fighting the spring. With a light spring and a polished action, you have removed many of the things that you struggled with before so as you move through the double action stroke you can feel a slight click in the trigger as the hammer reaches the shelf for half cocked.
With My RAMI in particular it has a Shadow hammer, which has a smaller shelf for the half cocked than the race hammers, the result is that the click is almost imperceptible as you move through the stroke giving it the smoothest double action I have used.
The race hammers having a slightly larger shelf, allowing a slight click as the trigger moves through the travel.
The effort does not build and this is a tiny difference between the guns that can only be noticed in back to back observation.
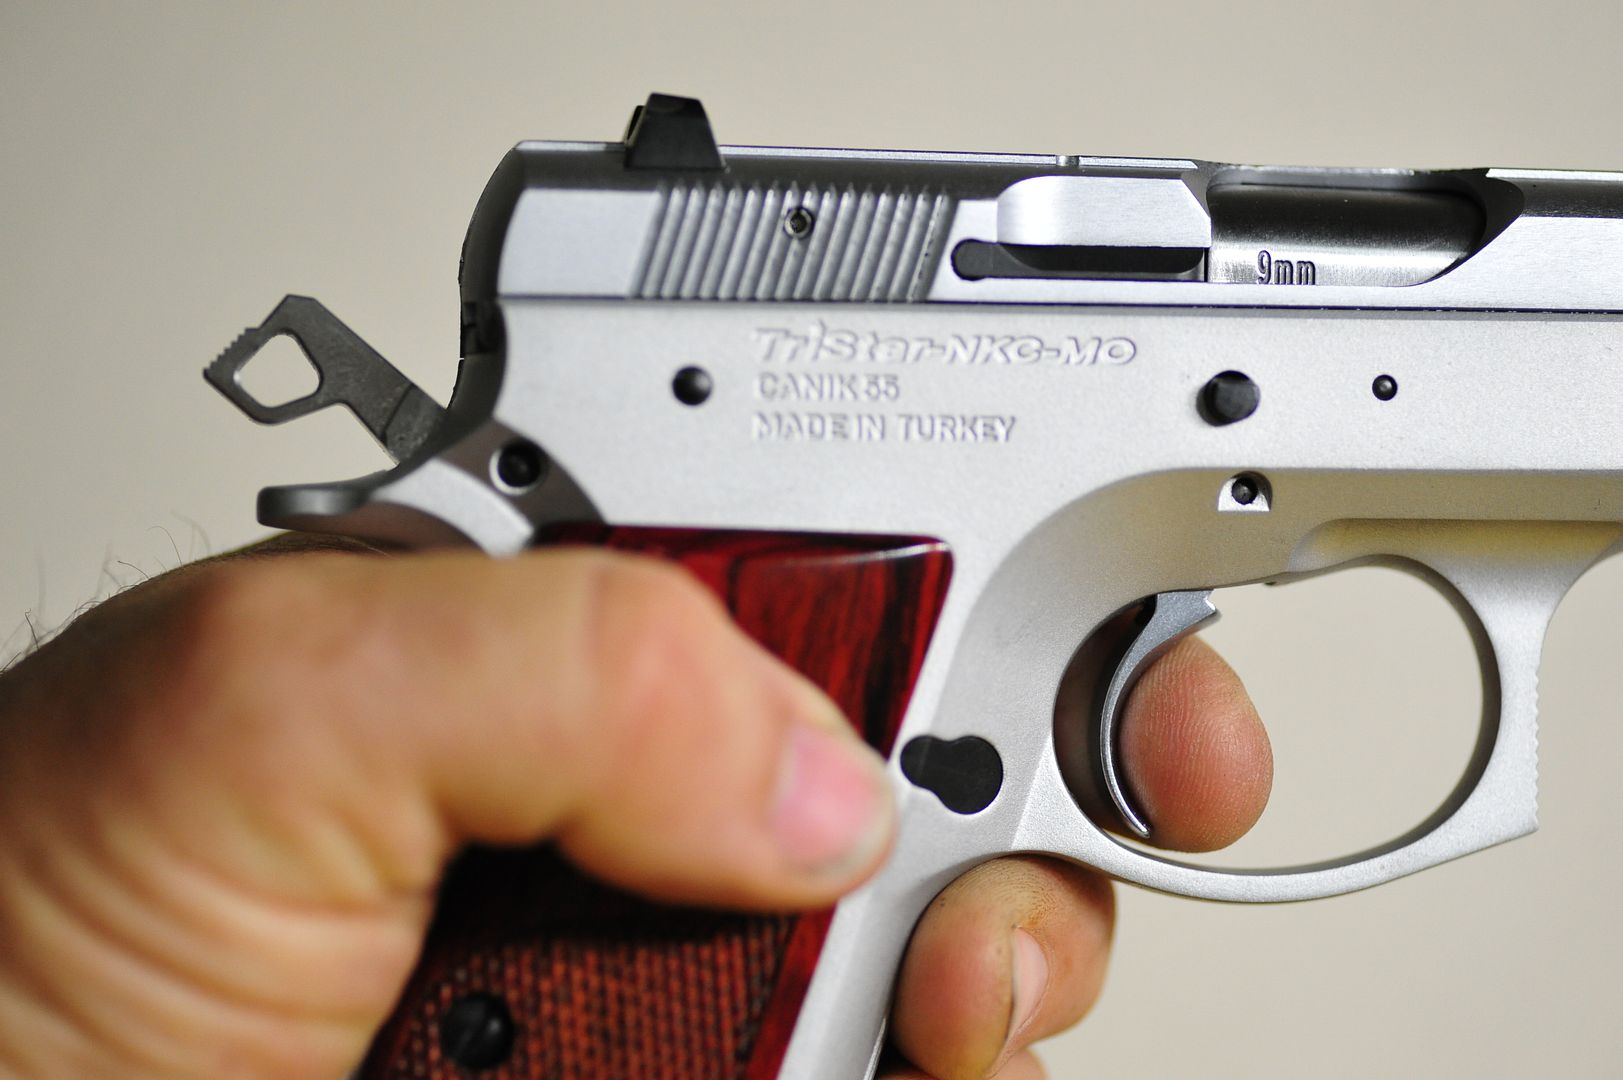
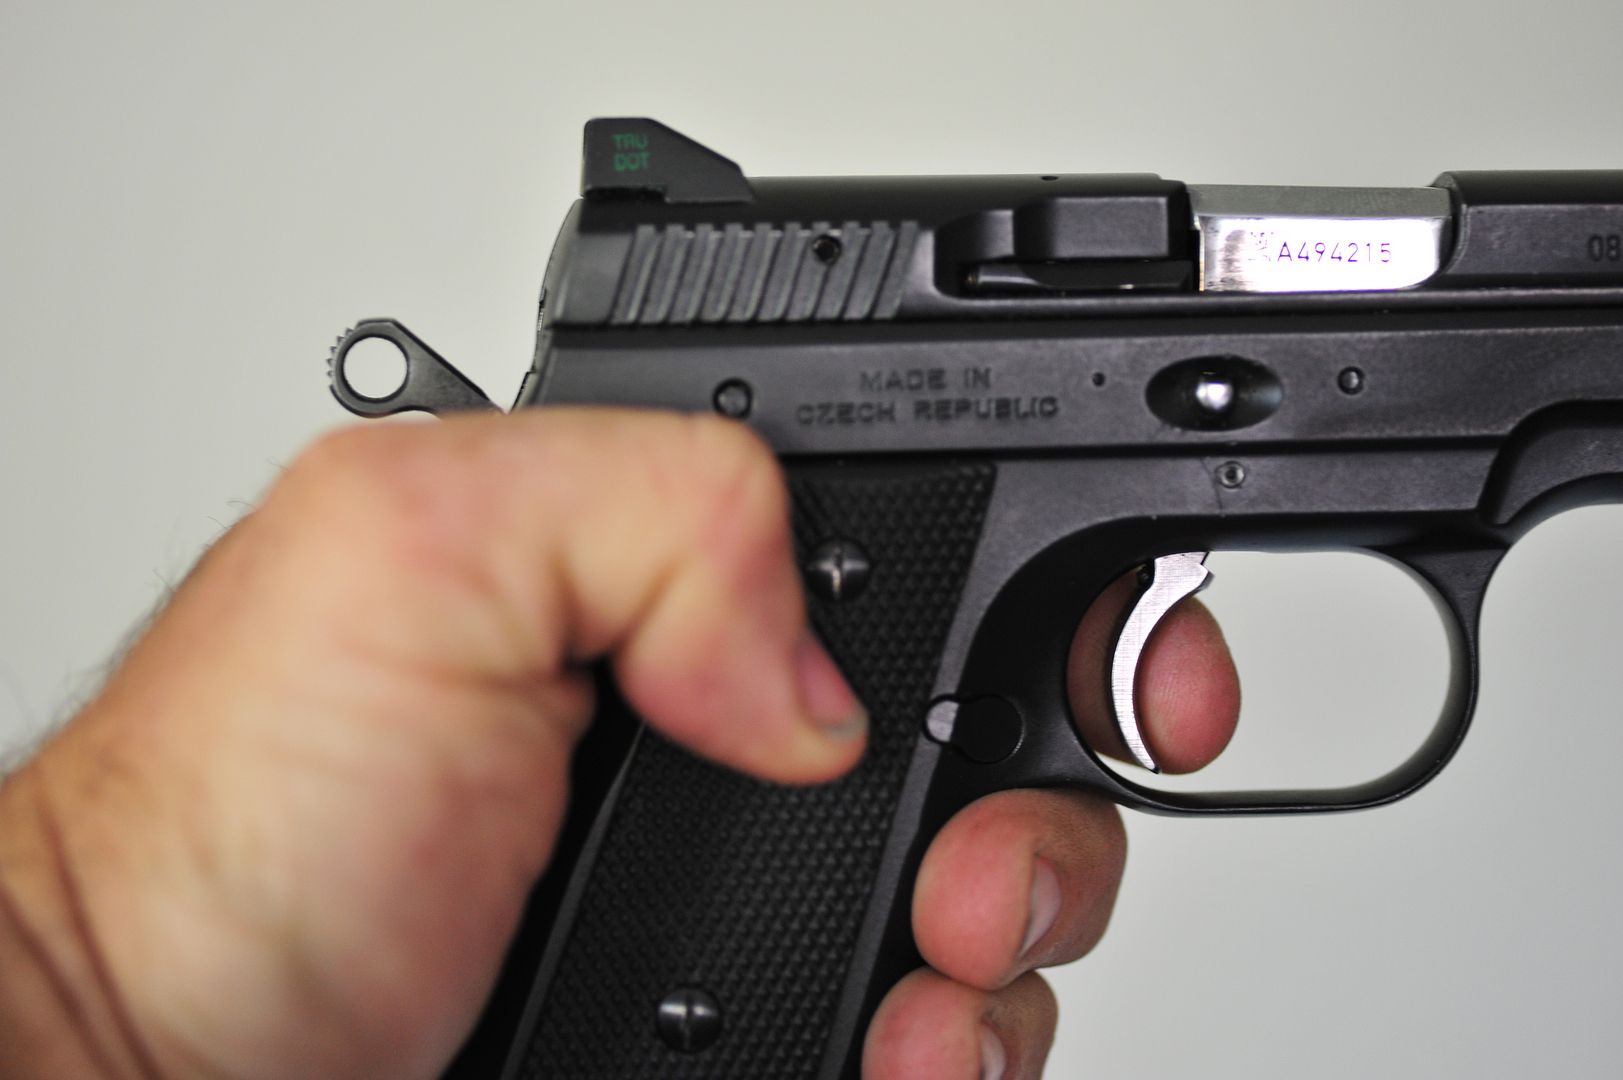
Now I will say the only negative thing in my build so far, that I have experienced is the newer style 85C triggers, I have seen several people comment on the differences between the new style and the old style trigger. The old style has a thicker trigger and less curve at the bottom of the trigger, the newer style is very reminiscent of the recurve trigger that most new CZ's ship with. For my wife it is not bothersome as she has small fingers and they fit in the small curve of the trigger, for me I have XXXl hands and the small curve tends to bite into my finger at the end the end of the trigger.
The flip side is people with smaller hands now have less reach due to the cut in the trigger.
Here is a shot using my left hand to show the trigger.
Here is a shot of the older style 85C trigger for comparison.Notice that it has less hook to it.
I will get to the range in the next couple days and give you my thoughts.
Part 5 coming soon sight fitment using the Trijicon combat style sights from CZC.


