A word on smoothing parts: Go slowly and keep everything flat and square. Sandpaper must be attached to a flat surface. If it isn?t it will round off the sides of parts. Glass works well, but granite or even MDF can be used as well. There is no need to apply pressure to the parts, just let them glide lightly across the sandpaper or stones. Do not let the metal get hot as it can adversely affect the temperament of the steel. Warm is OK, but hot is a no-go. When using the dremel pay close attention to the temperature since it can heat up the metal quickly. It takes a light touch with it as well.
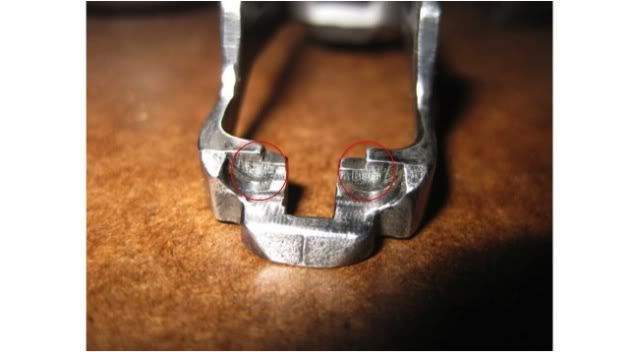
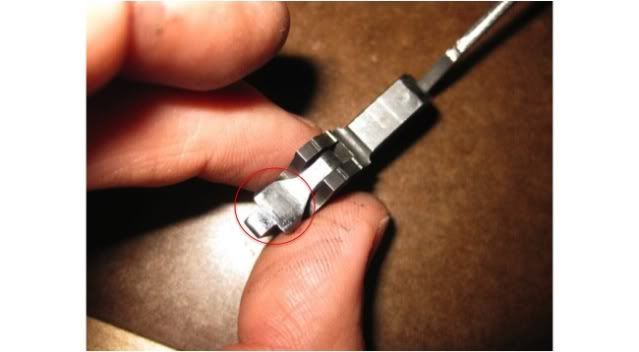
The first part to work is the trigger bar and trigger. Using sandpaper stuck to a glass plate begin working the sides of the trigger and trigger bar moving in increments from 400 through 1000 grit. There will be some deep machining marks left, but as long as it?s smooth it?s fine. Don?t? forget to polish the small area on the trigger bar that attaches the trigger.
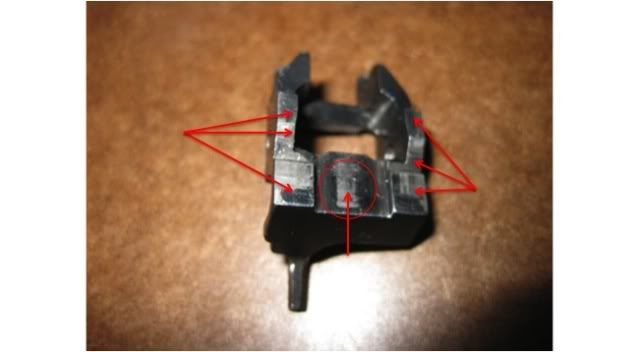
Polish the bottom. Don?t forget the grooves.
Polish the top. You can rub the bulk of it on a glass plate or stones, the rest just attach some sand paper to a small file to get in the small areas. Don?t attempt to get rid of all the machine marks, particularly on the lower part. Remove just enough material to help the disconnector glide.
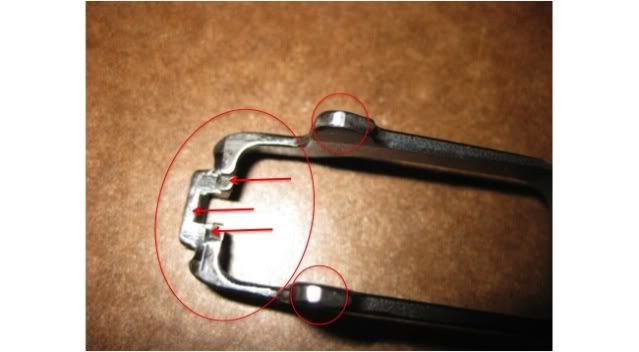
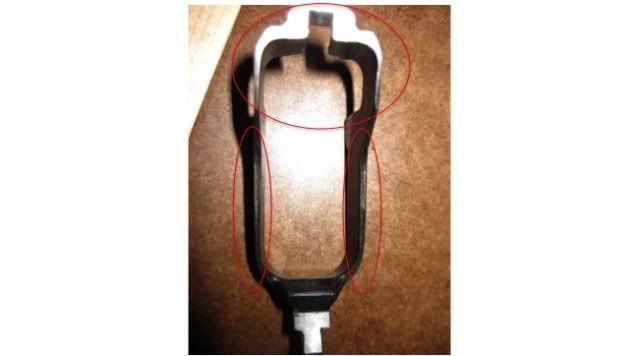
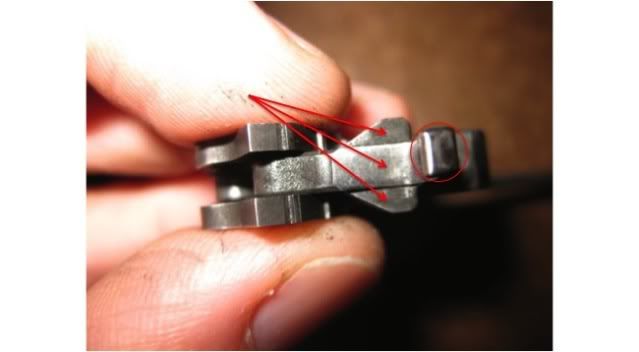
Smooth the two points where the ears of the disconnector engage. Again it won?t be perfect, but you want to remove the overall friction points.
Use the dremel with the feltbob and polish to finish buffing the triggerbar.
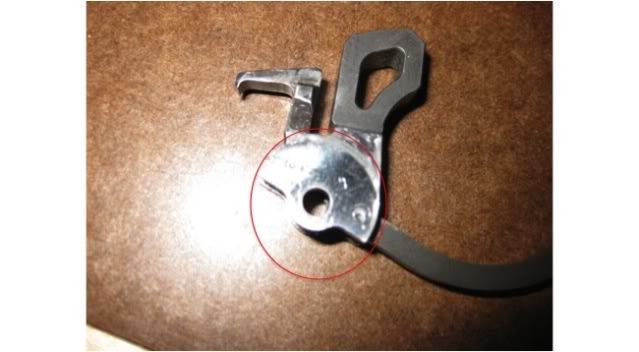
Smooth the sear cage and the sear. I used a ceramic stone set for this. Sandpaper would work fine also. I just trust the ceramic more with keeping the back of the sear flat. I also smoothed the middle of the sear cage where the top of the disconnector touches. Finish the sear cage with a light touch from the felt bob. I didn?t use the dremel on the sear since I want to make sure it?s absolutely flat with no rounded edges.
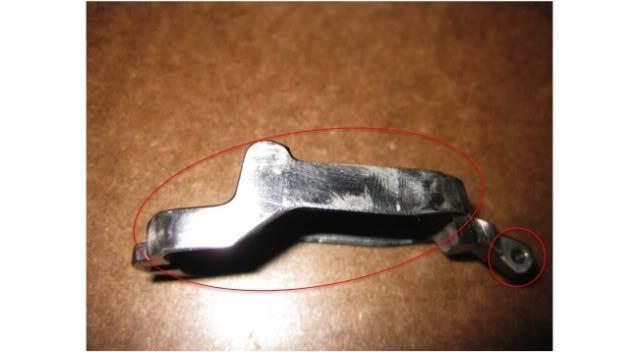
Polish the sides of the hammer making sure you stay clear of the hooks. Also polish and round the hammer strut to ensure the mainspring rides smoothly. I also polished the hammer pin. Finish up with the dremel
You can smooth and polish the disconnector without removing it from the hammer. Use a small file with sandpaper attached. Be careful to stay clear of the hammer and hooks. Don?t take off too much material. You?re just trying to make it a little more slick.
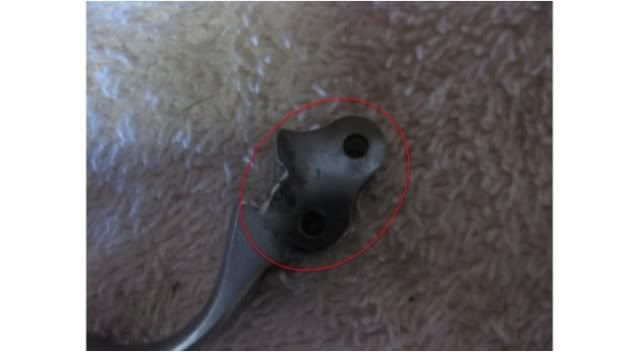
Top of disconnector
Bottom of disconector, smooth the ears and the tip that drags along the frame as well
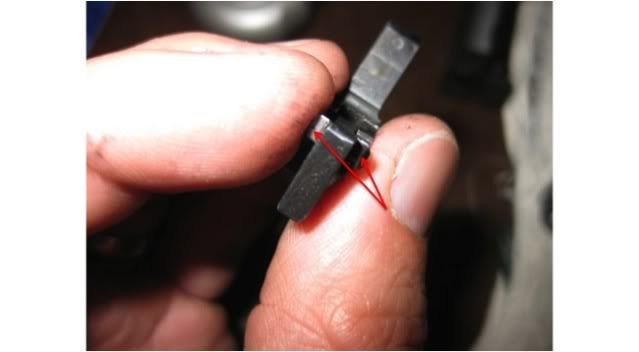
Finally lightly smooth the front of the ears. Just as before don?t take off too much material. Just try to knock down the high spots a little.
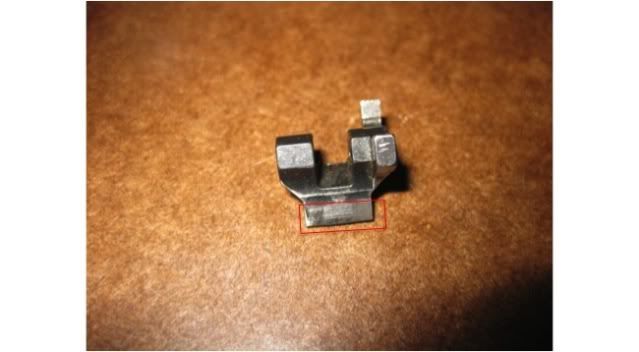
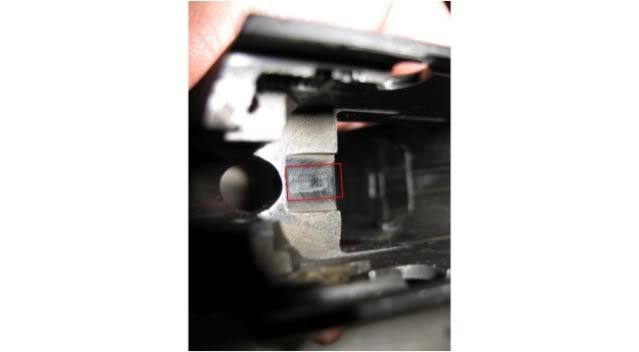
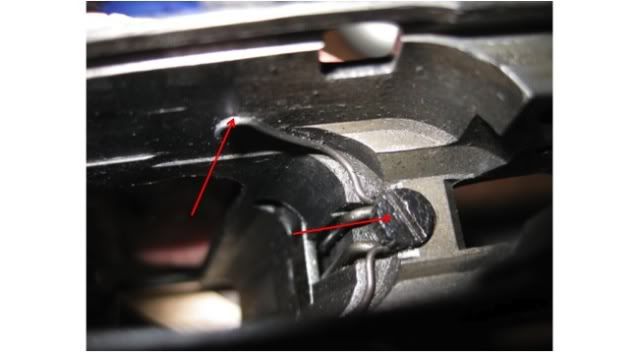
Lightly smooth the rear of the frame where the disconnector glides. Be careful not to round the edge. Take off just enough material to the point it feels smooth, don?t try to give it a mirror finish. I went up to 1000 grit, but didn?t remove the heavy machining marks.
On a side note, machine marks that are parallel with the direction of travel act as serrations and actually help reduce the amount of friction due to less material making contact with the surface.
Smooth the tops of the trigger lifter spring with sandpaper. Also note the magazine spring screw. If the trigger reset seems to be a little long it could be because of too much tension on the lifter spring. Backing off the screw will make the rebound seem less turbulent when the trigger bar lifts on the rebound.
I also lightly dremeled the firing pin with the felt bob and the inside of the frame where the trigger bar fits. The intent is to knock off any burrs or rough spots, not to polish the areas. You can also do this with the hammer pin and trigger pin.
Before reassembling the small parts give the polished areas a thin coat of Rem Oil or similar. Be sure to clean all the parts to ensure the metal shavings are gone and won?t contribute to corrosion.


